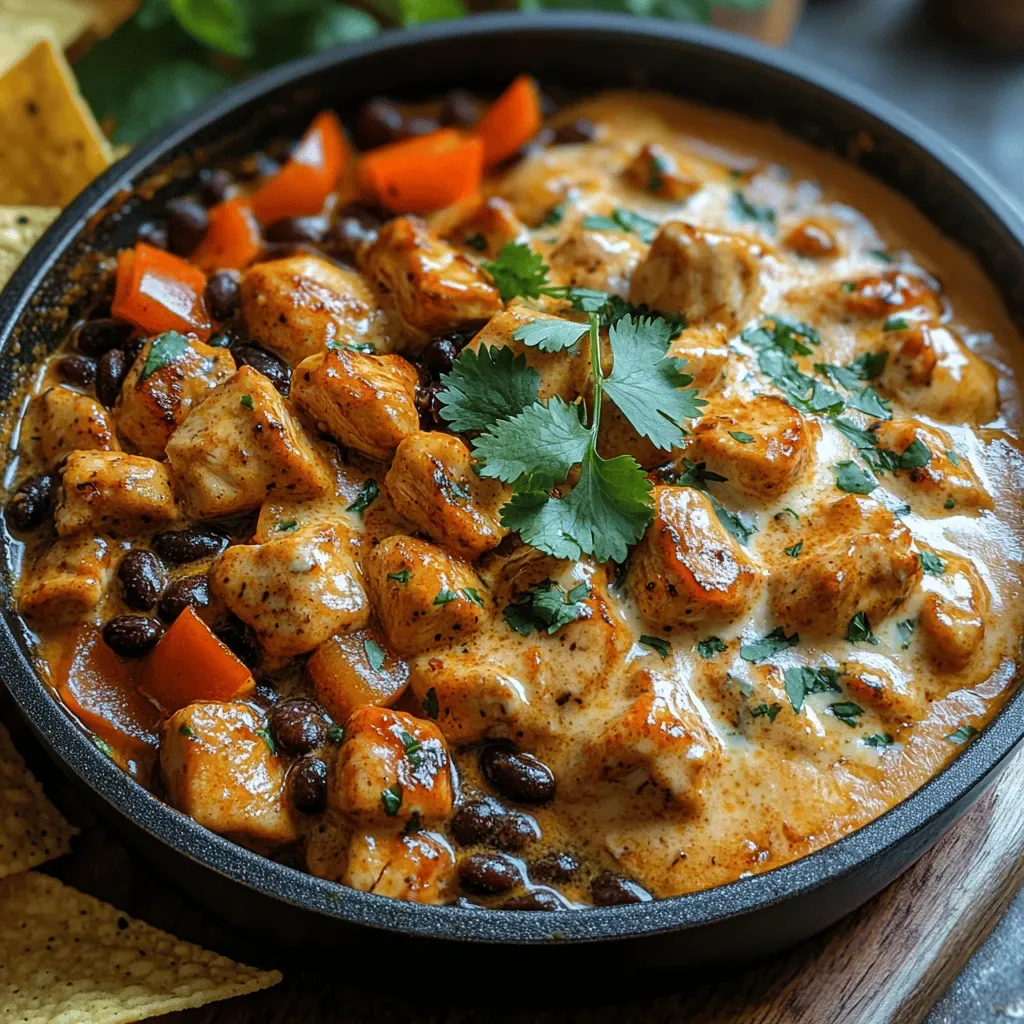
Imagine the satisfying crunch of a taco shell combined with the comforting heart‑iness of a rice ball, all in one bite. Crunchy Taco Rice Balls turn that fantasy into reality, delivering a breakfast‑brunch hybrid that’s both playful and filling.
What makes this dish special is the layered texture: fluffy, seasoned rice encased in a golden, taco‑spiced crust that shatters with every forkful, releasing a burst of salsa‑infused sauce that tingles the palate.
Busy parents, brunch‑loving friends, and anyone who craves a handheld comfort food will adore these rice balls. They shine at weekend brunches, casual family breakfasts, or even as a portable snack for a lazy Saturday morning.
The process is straightforward: cook and season the rice, shape it into balls, coat them in a crunchy taco mixture, bake until crisp, and finish with a quick drizzle of lime‑y cilantro crema. In under an hour you’ll have a crowd‑pleasing centerpiece.
Why You'll Love This Recipe
Hand‑Held Comfort: The rice‑ball format makes a traditionally plated breakfast portable, perfect for on‑the‑go mornings or relaxed brunch gatherings.
Bold Taco Flavors: A blend of cumin, chili powder, and smoked paprika gives each bite a fiesta‑like punch without overwhelming the palate.
Irresistible Crunch: The panko‑taco coating creates a satisfying crack that contrasts beautifully with the soft interior, adding texture excitement.
Easy Customization: Swap proteins, adjust heat, or add extra veggies—this recipe adapts to whatever you have on hand.
Ingredients
The magic of Crunchy Taco Rice Balls starts with a solid foundation of fluffy rice, seasoned with classic taco aromatics. A mixture of panko breadcrumbs and taco spices creates the signature crunch, while a light cilantro‑lime crema adds a fresh finish. Each component works together to give you a balanced bite of softness, spice, and crispness.
Main Ingredients
- 1 cup long‑grain white rice
- 1 ¼ cups water
- ½ cup black beans, rinsed and drained
- ¼ cup frozen corn, thawed
Taco Seasoning Mix
- 1 tsp chili powder
- ½ tsp ground cumin
- ¼ tsp smoked paprika
- ¼ tsp garlic powder
- ¼ tsp onion powder
- Pinch of cayenne (optional)
Crunchy Coating
- ¾ cup panko breadcrumbs
- 1 tbsp taco seasoning (store‑bought or homemade)
- 2 tbsp olive oil (for coating)
Cilantro‑Lime Crema (optional)
- ¼ cup Greek yogurt
- 1 tbsp lime juice
- 1 tsp honey
- 2 tbsp chopped fresh cilantro
- Salt to taste
The rice provides a neutral canvas that absorbs the taco seasoning, while black beans and corn introduce a subtle sweetness and texture contrast. The panko‑taco coating delivers the crunch that defines this dish, and the optional crema adds a cool, tangy finish that balances the heat. Together, these ingredients create a harmonious bite that feels both familiar and exciting.
Step-by-Step Instructions
Preparing the Rice Base
Rinse the rice under cold water until the water runs clear, then combine it with 1¼ cups water in a saucepan. Bring to a boil, cover, and reduce to a low simmer for 15 minutes. Remove from heat and let sit, covered, for another 5 minutes. Fluff with a fork, then stir in the black beans, corn, and the entire taco seasoning mix. This step ensures the rice is perfectly seasoned and the beans and corn are evenly distributed.
Forming the Balls
While the rice is still warm, wet your hands lightly and scoop out about ¼‑cup portions, rolling them into smooth balls. The warmth helps the rice bind together without the need for extra eggs or flour. Place each ball on a parchment‑lined tray; you should have eight to ten balls depending on size.
Coating and Baking
- Season the coating. In a shallow bowl combine the panko breadcrumbs, 1 tbsp taco seasoning, and a pinch of salt. Drizzle the olive oil over the mixture and toss until the crumbs are lightly coated but not soggy.
- Roll the balls. Gently roll each rice ball in the seasoned panko, pressing lightly so the crumbs adhere. The coating should be even; a thin layer ensures a crisp texture without overwhelming the rice.
- Arrange for baking. Place the coated balls back on the parchment tray, leaving a little space between each. Lightly spray the tops with cooking spray or drizzle a tiny amount of oil to promote browning.
- Bake. Preheat the oven to 400°F (200°C). Bake the rice balls for 18‑20 minutes, turning halfway through, until the coating turns golden‑brown and feels firm to the touch.
Finishing with Crema
While the balls bake, whisk together Greek yogurt, lime juice, honey, chopped cilantro, and a pinch of salt to create a silky crema. Once the rice balls are out of the oven, drizzle the crema over each or serve it on the side for dipping. The cool, citrusy sauce cuts through the spice and adds a velvety finish.
Tips & Tricks
Perfecting the Recipe
Warm rice binds better. Form the balls while the rice is still warm; the heat activates the natural starches, eliminating the need for extra binders.
Even coating. Toss the panko with oil before rolling the balls; this creates a uniform crust that browns evenly in the oven.
Don’t over‑crowd the pan. Space the balls at least an inch apart so hot air circulates, giving each ball a crisp exterior.
Flavor Enhancements
Add a tablespoon of finely diced jalapeño to the rice for extra heat, or stir in a handful of shredded cheddar cheese before shaping for a melty surprise. A splash of lime zest over the finished balls brightens the flavor profile instantly.
Common Mistakes to Avoid
Avoid using cold, leftover rice—it won’t hold together and the coating may slide off. Also, skip the habit of spraying too much oil; excess oil makes the crust soggy rather than crunchy.
Pro Tips
Use a kitchen scale. Measuring rice and coating ingredients by weight guarantees consistency across batches.
Finish under the broiler. For an extra‑crisp top, switch the oven to broil for the last 2 minutes, watching closely to prevent burning.
Rest before serving. Let the balls sit for 3 minutes after baking; this allows the interior steam to settle, preserving the crunch.
Variations
Ingredient Swaps
Swap white rice for brown rice or quinoa for added fiber; the cooking time will increase slightly. Replace black beans with pinto beans or edamame for a different texture. For a protein boost, fold in cooked, crumbled chorizo or diced ham before forming the balls.
Dietary Adjustments
Make the recipe gluten‑free by using certified gluten‑free panko or crushed corn tortillas. For a vegan version, substitute Greek yogurt with coconut‑milk yogurt and use olive oil throughout. Keto diners can replace rice with cauliflower rice and use a low‑carb sweetener in the crema.
Serving Suggestions
Serve the balls alongside a bright avocado‑tomato salsa, a simple mixed green salad, or a side of seasoned black‑bean refried beans. A dollop of guacamole or a sprinkle of queso fresco adds richness, while a fresh fruit salad balances the savory richness for a complete brunch spread.
Storage Info
Leftover Storage
Allow the rice balls to cool completely, then transfer them to an airtight container. Refrigerate for up to 4 days. For longer keeping, place each ball on a parchment sheet, freeze individually, and later bundle them in a freezer‑safe bag for up to 3 months. This prevents them from sticking together.
Reheating Instructions
Reheat in a preheated 350°F oven for 12‑15 minutes, uncovered, to revive the crisp crust. If you’re short on time, microwave on medium power for 60‑90 seconds, then finish under the broiler for 1‑2 minutes to restore crunch. Add a quick drizzle of crema after reheating for fresh flavor.
Frequently Asked Questions
Crunchy Taco Rice Balls bring together the comfort of a classic breakfast staple with the bold excitement of Mexican street food. By following the step‑by‑step guide, using fresh ingredients, and applying a few pro tips, you’ll achieve a perfectly crispy exterior and a flavorful, fluffy interior every time. Feel free to experiment with swaps, sauces, and sides to make the dish truly yours. Serve them hot, enjoy the satisfying crunch, and start your brunch with a burst of flavor!