Introduction to Chilly Oat Bliss Bars
Delightfully delicious and incredibly nutritious, Chilly Oat Bliss Bars offer a perfect blend of flavors and textures that make for a wholesome snack or breakfast option. With the rising popularity of health-conscious eating, these bars stand out as an excellent choice for those seeking a guilt-free indulgence. Packed with rolled oats, Greek yogurt, and a hint of espresso, they cater to various dietary preferences, making them suitable for those following gluten-free, vegetarian, or even dairy-free diets when substitutions are made.
Whether you need a quick energy boost before heading out or a satisfying treat to share with friends, this recipe is bound to impress. The Chilly Oat Bliss Bars are not just a snack; they are an experience that combines the simplicity of wholesome ingredients with the joy of versatile flavors. In this article, we’ll delve into the ingredients, preparation steps, and the benefits of each component, ensuring you feel confident in making these irresistible bars.
Understanding the Nutritional Benefits of Chilly Oat Bliss Bars
Before we dive into the preparation, let’s take a closer look at the key ingredients that make Chilly Oat Bliss Bars not only delicious but also beneficial for your health.
Rolled Oats
As the foundation of these bars, rolled oats are a superfood that boasts an impressive nutritional profile. Rich in dietary fiber, they aid in digestion and help maintain steady energy levels throughout the day. The soluble fiber found in oats has been linked to improved heart health, as it can help lower cholesterol levels. Additionally, oats contain important vitamins and minerals, including magnesium, iron, and B vitamins, which contribute to overall well-being.
Greek Yogurt
Greek yogurt is another vital component of the Chilly Oat Bliss Bars, serving as a creamy base that enhances both texture and nutritional value. It is a protein powerhouse, offering nearly double the protein content of regular yogurt. This high protein content helps keep you feeling full longer, making it an excellent choice for a snack or breakfast. Furthermore, Greek yogurt is rich in probiotics, which support gut health and can improve digestion.
Honey or Maple Syrup
To sweeten our bars naturally, we turn to honey or maple syrup, both of which provide a healthier alternative to refined sugars. These natural sweeteners not only add a touch of sweetness but also come with their own health benefits. Honey is known for its antioxidant properties and can help soothe sore throats, while maple syrup contains minerals like manganese and zinc. Both options provide a quick energy boost, making them ideal for pre- or post-workout snacks.
Almond Butter
Almond butter plays a crucial role in enhancing the flavor and nutritional profile of Chilly Oat Bliss Bars. As a source of healthy fats and protein, it contributes to the bars’ creamy texture while also providing essential nutrients such as vitamin E, magnesium, and fiber. The healthy fats found in almond butter help support heart health and can aid in weight management by keeping you satisfied.
Espresso or Coffee
A hint of espresso or strong coffee adds a rich, robust flavor to the bars, making them an exciting treat for coffee lovers. Beyond taste, caffeine provides a quick energy boost and can improve focus and alertness. Using cooled espresso ensures that the heat does not alter the texture of the other ingredients, allowing for a harmonious blend of flavors.
Fresh Fruit Toppings
For an added burst of flavor and nutrition, consider topping your Chilly Oat Bliss Bars with fresh fruits. Berries, bananas, or sliced apples not only enhance the visual appeal of the bars but also contribute essential vitamins, minerals, and antioxidants. Fruits are an excellent way to balance the flavors of the bars while providing additional fiber and natural sweetness.
Step-by-Step Guide to Crafting Chilly Oat Bliss Bars
Now that we understand the nutritional benefits of each ingredient, let’s move on to the practical aspects of making Chilly Oat Bliss Bars. With a few simple steps, you’ll be on your way to creating this delightful treat.
Preparing Your Workspace for Success
Before you begin, it’s essential to prepare your workspace to ensure a smooth and efficient cooking experience. Start by gathering all your ingredients and tools. You will need rolled oats, Greek yogurt, milk, honey or maple syrup, almond butter, vanilla extract, salt, and cooled espresso or coffee. Having everything at your fingertips will streamline the process and minimize distractions.
Next, prepare your baking pan. A 9×9-inch or 8×8-inch pan works well for these bars. Line the pan with parchment paper, allowing some overhang on the sides. This will make it easier to lift the bars out once they are set and ready to cut.
Mixing the Base Ingredients
With your workspace ready, it’s time to combine the base ingredients. In a large mixing bowl, add the rolled oats, Greek yogurt, milk, honey or maple syrup, almond butter, vanilla extract, and a pinch of salt. Using a sturdy spatula or wooden spoon, mix the ingredients until they are well combined.
Achieving the right consistency is crucial for the texture of your bars. You want a creamy mixture that holds together but is not overly runny. If the mixture seems too thick, you can add a little more milk, one tablespoon at a time, until you reach the desired consistency.
Incorporating Coffee for a Flavor Kick
Once your base mixture is ready, it’s time to incorporate the espresso or coffee. It’s important to use cooled espresso to avoid cooking the other ingredients. Pour the cooled coffee into the oat mixture gradually, stirring continuously to ensure it blends evenly without creating lumps. The coffee should enhance the flavor without overpowering the other ingredients, so be sure to taste as you mix.
Enhancing with Dark Chocolate (Optional)
For those who wish to add a touch of indulgence, consider folding in some dark chocolate chips or chunks into the mixture. Dark chocolate not only provides a delicious contrast to the oat and yogurt base but also adds antioxidants and a bit of extra sweetness. Be mindful of the amount you add, as you want to maintain a balanced flavor profile.
With the mixture fully combined, you are now ready to pour it into your prepared baking pan and smooth the top with your spatula.
Stay tuned for the next part of this article, where we will cover the baking process, cooling, and the best ways to store and serve your Chilly Oat Bliss Bars.
{{image_2}}
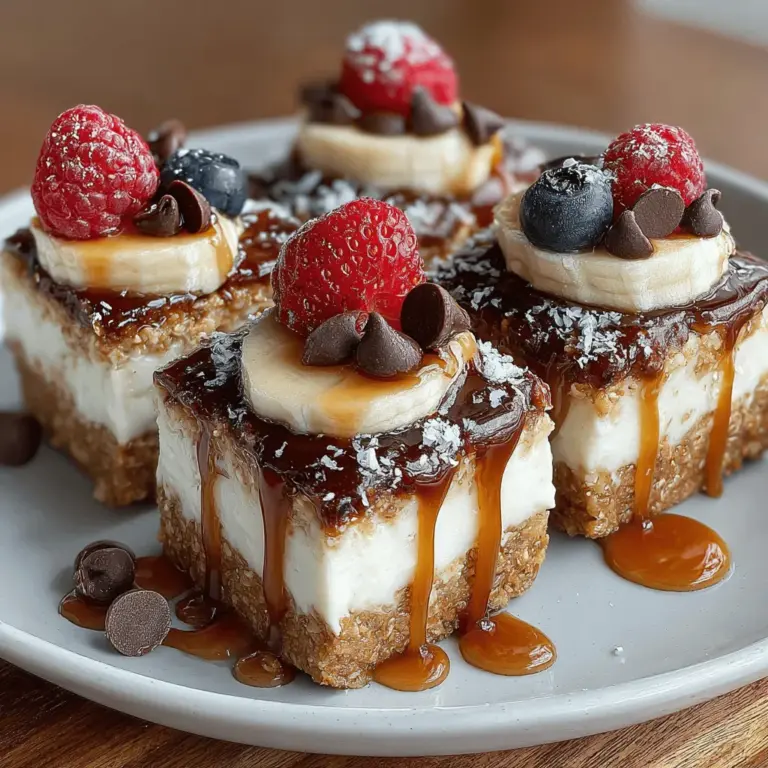
Flavor Profile Benefits of Adding Chocolate Chips
Incorporating chocolate chips into your Chilly Oat Bliss Bars not only elevates the taste but also enhances the overall texture. The rich, creamy flavor of chocolate complements the nutty taste of oats, creating a delightful balance that appeals to both sweet and savory palates. Dark chocolate chips, in particular, are a fantastic option as they add a touch of bitterness that counteracts the sweetness of other ingredients, making each bite a well-rounded experience.
When you bite into these bars, the melted chocolate creates a delicious contrast with the chewy oats, resulting in a delightful surprise in every mouthful. This burst of flavor encourages you to savor each piece, making them not just a treat but a temptation you’ll find hard to resist.
How to Evenly Distribute Chocolate in the Mixture
To ensure that every bite of your Chilly Oat Bliss Bars is infused with chocolatey goodness, it’s essential to evenly distribute the chocolate chips throughout the mixture. Start by adding the chocolate chips after combining your dry ingredients with the wet ones. Gently fold the chips into the mixture, taking care not to overmix; this ensures that they remain intact and don’t break down too much. A good technique is to use a spatula to lift the mixture from the bottom of the bowl, allowing it to gently envelop the chocolate chips. This method helps achieve an even distribution, ensuring that you get a delightful chocolate surprise in every bite.
Perfecting the Freezing Process for Ideal Texture
Preparing the Baking Pan for Freezing
Before pouring your mixture into the pan, it is crucial to prepare it properly to ensure easy removal after freezing. Line your baking pan with parchment paper, allowing some overhang on the sides. This overhang acts as a handle, making it easy to lift the bars out once they’re frozen. Parchment paper also prevents sticking, ensuring that your Chilly Oat Bliss Bars maintain their shape without crumbling.
Once the parchment is set, pour your oat mixture into the pan. To achieve a firmer texture, it’s important to compact the mixture well. Use a spatula or your hands to press the mixture firmly into the pan. This not only helps the bars hold together but also enhances the overall density and chewiness, resulting in a satisfying bite.
Timing Your Freeze
For optimal results, your Chilly Oat Bliss Bars should be frozen for at least 2 to 4 hours. The exact duration may depend on your freezer’s temperature and the thickness of your bars. To determine if they are ready to be cut, check for a firm texture; they should feel solid to the touch and should not leave an imprint when pressed lightly. If they are still soft, give them additional time in the freezer.
Cutting and Serving Your Chilly Oat Bliss Bars
Techniques for Cutting Bars Neatly
Cutting your Chilly Oat Bliss Bars into perfect squares or rectangles can be a bit tricky, but with the right tools and techniques, you can achieve clean cuts. A sharp chef’s knife or a bench scraper works best for this task. To ensure clean edges, consider warming the knife under hot water, then wiping it dry before making each cut. This technique prevents the bars from sticking to the blade, resulting in a neater appearance.
When it comes to portion sizes, it’s all about personal preference. For a quick snack, you might choose to cut them into smaller squares, while larger portions are great for a more satisfying treat.
Creative Serving Suggestions
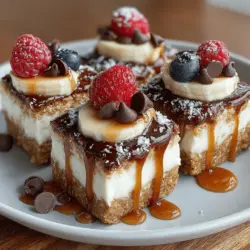
Presentation can elevate the overall appeal of your Chilly Oat Bliss Bars. Consider serving them on a decorative plate or cutting board, and for an extra touch, drizzle some melted dark chocolate over the top for a gourmet look. You can also dust them with powdered sugar or cocoa powder for an elegant finish.
For added nutrition and flavor, top your bars with fresh fruits such as berries or banana slices. These toppings not only enhance the aesthetic appeal but also provide a refreshing contrast to the rich, hearty bars. A dollop of Greek yogurt on the side can also complement the sweetness and provide a creamy texture that pairs beautifully.
Storage Solutions for Longevity
Best Practices for Storing Leftover Bars
To keep your Chilly Oat Bliss Bars fresh for as long as possible, it’s essential to store them properly. After cutting the bars, place them in an airtight container lined with parchment paper to prevent sticking. This method helps maintain their texture and flavor. You can also layer the bars with parchment paper between each layer to avoid them sticking together.
In terms of shelf life, when stored in the refrigerator, these bars can last for up to two weeks. For longer storage, consider freezing them. Just wrap each bar individually in plastic wrap or aluminum foil and place them in a freezer-safe container. When stored this way, they can last up to three months, allowing you to enjoy them even when fresh ingredients are less accessible.
Discussing the Shelf Life and Freezing Tips for Extended Enjoyment
If you decide to freeze your Chilly Oat Bliss Bars, it’s best to thaw them slowly in the refrigerator before serving. This method preserves their texture and flavor. Avoid thawing at room temperature as this can lead to a soggy texture. If you’re in a hurry, you can microwave them for a few seconds, but be cautious not to overheat, as this can cause the chocolate to melt too much.
Conclusion
Chilly Oat Bliss Bars are not just a delicious treat; they embody a healthy lifestyle choice that can seamlessly fit into your daily routine. With their rich blend of wholesome ingredients, these bars bring together nutrition and flavor, making them a perfect option for any time of the day. By following the detailed instructions outlined above, you can create your own batch of these delightful bars, ensuring that you and your loved ones have an energizing snack on hand whenever you need it. Enjoy the process of making and savoring each bite of your homemade Chilly Oat Bliss Bars, knowing that you are indulging in a nutritious and satisfying treat.