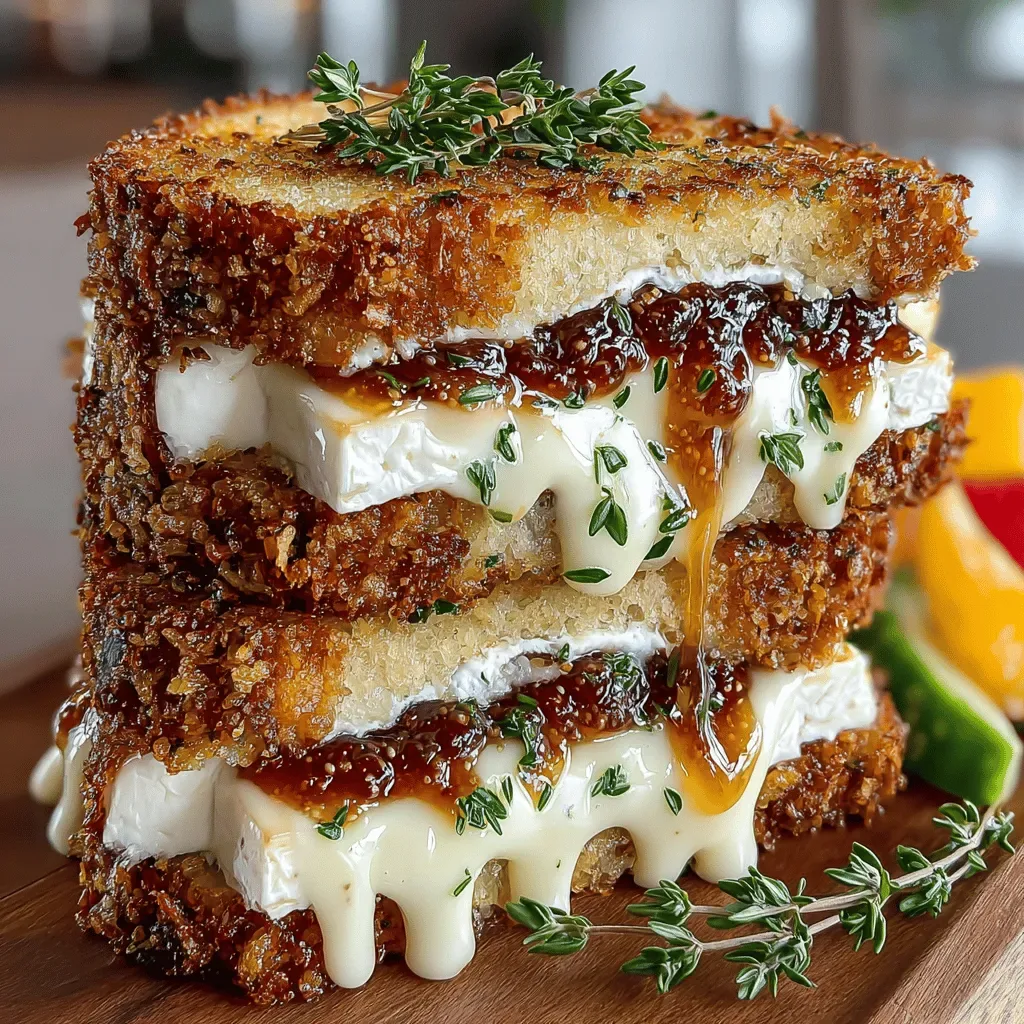
I still remember the first time I fired up the grill on a bright summer evening, the sky painted in shades of pink and orange, and the scent of charcoal mingling with fresh herbs drifted through the backyard. I was a teenager then, perched on a folding chair, watching my dad carefully brush a glaze onto chicken that sizzled like a promise. The moment the lid lifted, a cloud of fragrant steam hit me, carrying notes of lemon zest, garlic, and a whisper of rosemary that made my mouth water before the first bite even arrived. That memory has become the cornerstone of my family’s weekend rituals, and the recipe that emerged from that night is what I’m sharing with you today – a zesty grilled lemon chicken that sings with brightness and depth.
What makes this dish truly special isn’t just the tangy lemon that brightens every bite, but the balance of flavors that dance on the palate: the richness of extra‑virgin olive oil, the aromatic punch of garlic, and the subtle earthiness of fresh herbs that together create a symphony you’ll hear in every chew. Imagine the chicken skin turning a gorgeous golden‑brown, the juices sealing in moisture, and the lemon‑infused marinade caramelizing just enough to leave a glossy finish that catches the light. The texture is a perfect contrast – tender, juicy meat on the inside with a slightly crisp exterior that gives way to a melt‑in‑your‑mouth experience.
But here’s the thing: the secret to that unforgettable flavor isn’t hidden in a complicated technique or an exotic spice rack. It’s rooted in three simple principles – quality ingredients, a well‑timed marination, and a hot, attentive grill. I’ll walk you through each step, revealing why a few minutes of patience can turn an ordinary chicken breast into a crowd‑pleasing masterpiece. And wait until you see the trick I use to keep the chicken juicy even after a full thirty minutes on the grill – it’s a game‑changer that most home cooks overlook.
Ready to bring that backyard magic into your kitchen? Here’s exactly how to make it — and trust me, your family will be asking for seconds, and maybe even thirds. The journey from prep to plate is packed with tips, anecdotes, and a few surprises that will keep you turning pages. So grab your apron, and let’s dive into the zesty world of lemon‑kissed grilled chicken.
🌟 Why This Recipe Works
- Flavor Depth: The combination of lemon zest and juice creates a bright acidity that cuts through the richness of the chicken, while the garlic and herbs add layers of savory complexity that develop as the meat grills.
- Texture Harmony: Marinating in olive oil helps the protein stay moist, and the high heat of the grill forms a caramelized crust that offers a satisfying bite without drying the interior.
- Ease of Execution: With just a handful of pantry staples and a 15‑minute marination, this recipe fits into a busy weeknight schedule yet feels like a special occasion dish.
- Time Efficiency: The total hands‑on time is under 20 minutes, and the grill does most of the work, freeing you to set the table or prep a quick side while the chicken cooks.
- Versatility: Whether you serve it with a fresh salad, roasted veggies, or a fragrant rice pilaf, the lemon‑herb profile complements a wide range of sides, making it adaptable to any menu.
- Nutrition Boost: Lean chicken breast provides high protein with minimal fat, while the lemon adds vitamin C and antioxidants, and olive oil supplies heart‑healthy monounsaturated fats.
- Ingredient Quality: Using fresh lemons, garlic, and herbs elevates the dish from ordinary to restaurant‑quality, proving that simple, high‑quality components are the real secret weapons.
- Crowd‑Pleasing Factor: The bright, zesty flavor appeals to both kids and adults, and the beautiful golden‑brown grill marks make it visually irresistible on any plate.
🥗 Ingredients Breakdown
The Foundation: Chicken & Citrus
The star of the show is Boneless, Skinless Chicken Breasts. I always aim for 3‑4 medium‑sized breasts, which gives each diner a generous portion while keeping the cooking time consistent. Look for breasts that are pink‑white, firm to the touch, and without any grayish spots – that’s a sign of freshness. If you’re feeding a larger crowd, you can double the quantity, but remember to increase the marinade proportionally so every bite stays juicy.
Next comes the Fresh Lemons. Both zest and juice are essential; the zest provides aromatic oils that sit on the surface, while the juice penetrates the meat, tenderizing it gently. Choose lemons that feel heavy for their size and have a bright, glossy skin – they contain more juice and flavor. If you can’t find lemons, a mix of lime and a splash of orange juice can mimic the bright citrus profile, though the classic lemon remains unmatched.
Aromatics & Spices
Garlic Cloves bring an earthy pungency that balances the lemon’s acidity. I recommend using three to four cloves, minced finely so they disperse evenly throughout the marinade. Fresh garlic releases allicin, a compound that deepens the flavor as it cooks, whereas powdered garlic can taste flat. If you’re sensitive to raw garlic’s bite, let the minced cloves sit in the olive oil for a minute before adding the lemon – this mellows the sharpness while preserving the aroma.
Olive Oil is the glue that binds the flavors together. Opt for a high‑quality extra‑virgin olive oil; its fruity notes complement the lemon and herbs, and it helps the chicken develop a beautiful sear on the grill. A good rule of thumb is one tablespoon per breast; this ensures the meat stays moist without becoming greasy. For a smoky twist, you could substitute a tablespoon of avocado oil, which has a higher smoke point, but you’ll lose some of the olive oil’s characteristic flavor.
The Secret Weapons: Fresh Herbs & Seasoning
Fresh Herbs – I love using rosemary or thyme, and sometimes a combination of both. Their piney, slightly floral notes lift the dish beyond ordinary lemon chicken. When selecting herbs, look for vibrant green leaves without dark spots; the fresher, the better. If you’re out of fresh herbs, a teaspoon of dried rosemary or thyme can work, but add it earlier in the marination so the flavor has time to infuse.
Salt and Pepper are the simple yet crucial seasonings that awaken every other ingredient. Kosher salt flakes dissolve evenly, while freshly cracked black pepper adds a subtle heat. Season the chicken lightly before marinating – this helps the flavors penetrate the meat more effectively. Remember, you can always finish with a pinch of sea salt after grilling for that final pop of flavor.
Finishing Touches
A final drizzle of high‑quality olive oil right after the chicken comes off the grill adds a silky mouthfeel and helps lock in the juices. If you love a little extra zing, a sprinkle of flaky sea salt and a few extra lemon zest curls on top create a beautiful visual contrast and an extra burst of aroma. And for those who enjoy a hint of sweetness, a drizzle of honey or a spoonful of apricot preserves can balance the acidity, turning the dish into a sweet‑savory masterpiece.
With your ingredients prepped and ready, let's get cooking. Here's where the fun really begins…

🍳 Step-by-Step Instructions
Start by gathering all your ingredients on a clean countertop. Pat the chicken breasts dry with paper towels – this is crucial because excess moisture will steam the meat instead of allowing a proper sear. In a medium bowl, combine the juice of two lemons, the zest of one lemon, minced garlic, and a generous splash of extra‑virgin olive oil. Whisk until the mixture emulsifies, then season with kosher salt, freshly cracked pepper, and your chosen fresh herbs, crushing them between your fingers to release their oils.
Place the chicken breasts in a resealable plastic bag or shallow dish, then pour the marinade over them, ensuring each piece is fully coated. Seal the bag, removing as much air as possible, and give it a gentle massage so the flavors hug every surface. Let the chicken marinate in the refrigerator for at least 15 minutes, but for maximum depth, aim for 30‑45 minutes. Pro Tip: If you’re short on time, a quick 10‑minute room‑temperature marination still works, but the flavor won’t be as pronounced.
💡 Pro Tip: After marinating, let the chicken sit at room temperature for 5 minutes before grilling – this prevents a sudden temperature shock that can cause the meat to contract and become tough.While the chicken marinates, preheat your grill to medium‑high heat, aiming for a surface temperature of about 400‑425°F (200‑220°C). If you’re using a charcoal grill, arrange the coals to create a hot zone for searing and a cooler side for finishing the cook. Lightly oil the grill grates with a folded paper towel dipped in olive oil and held with tongs – this step stops the chicken from sticking and adds a subtle flavor.
Remove the chicken from the bag, letting excess marinade drip off – you want a thin coating, not a pool of liquid that will steam. Place the breasts on the hot grill, listening for that satisfying sizzle that signals the Maillard reaction has begun. Grill for about 4‑5 minutes on the first side, until you see clear grill marks and the edges start to turn opaque. Common Mistake: Flipping the chicken too early can cause it to stick and tear; let it develop a crust before moving it.
⚠️ Common Mistake: Over‑crowding the grill leads to uneven cooking and steam, which prevents those beautiful char lines.Turn the chicken over using tongs, and grill the second side for another 4‑5 minutes. At this point, the internal temperature should be approaching 150°F (65°C). To add an extra layer of flavor, brush a thin layer of the reserved marinade onto the chicken during the last minute of cooking, allowing it to caramelize without burning.
Check doneness with an instant‑read thermometer; the chicken is safe to eat at 165°F (74°C). If the breasts are thick, move them to the cooler side of the grill and close the lid for an additional 2‑3 minutes, letting the residual heat finish the cooking gently. This indirect method ensures the interior stays juicy while the exterior remains perfectly crisp.
Once the chicken reaches the proper temperature, transfer it to a clean cutting board and let it rest for at least 5 minutes. Resting allows the juices to redistribute, preventing them from spilling out the moment you slice. While it rests, sprinkle a final handful of freshly chopped herbs and a few extra lemon zest curls for a burst of fresh aroma.
Slice the chicken against the grain into thick, juicy strips, and arrange them on a serving platter. Drizzle a little extra‑virgin olive oil around the edges, and garnish with lemon wedges for an extra pop of color and acidity. Serve immediately with your favorite side – perhaps a crisp arugula salad, grilled asparagus, or a fluffy quinoa pilaf. And there you have it! But before you dig in, let me share some tips that will take this from great to absolutely unforgettable…
🔐 Expert Tips for Perfect Results
The Taste Test Trick
Before you even think about grilling, taste a tiny spoonful of the raw marinade. If the balance feels bright with a hint of peppery heat, you’re on the right track; if it’s too sharp, add a pinch more olive oil or a dash of honey. This quick check saves you from a bland final product and ensures the lemon’s acidity is perfectly tempered.
Why Resting Time Matters More Than You Think
I once served chicken straight off the grill, only to watch guests’ faces fall as the juices ran onto their plates. Resting for five minutes isn’t just a suggestion – it’s a science. The muscle fibers relax, allowing the internal juices to settle, which translates to a moist bite rather than a dry one. Trust me on this one: the extra patience makes the difference between “good” and “wow.”
The Seasoning Secret Pros Won’t Tell You
Professional chefs often finish grilled chicken with a light dusting of flaky sea salt and a squeeze of fresh lemon right before plating. The salt adds a crunchy texture, while the fresh lemon juice brightens the flavor just before it hits your palate. It’s a tiny step that elevates the dish from home‑cooked to restaurant‑worthy.
Grill Marks: The Visual Cue
Beautiful grill marks aren’t just for Instagram – they indicate that the surface temperature was high enough to sear quickly, sealing in juices. To achieve them, avoid moving the chicken during the first 4 minutes; the meat will naturally release from the grates when it’s ready to flip. If you’re using a gas grill, preheat the burners for at least 10 minutes to ensure consistent heat.
Managing Flare‑Ups
Because the lemon juice can cause occasional flare‑ups, keep a spray bottle of water handy. A quick mist can tame the flames without cooling the grill too much. I once learned this the hard way when a sudden flare charred the chicken’s edges – a little water saved the rest of the batch.
The Best Side Pairings
Pair this chicken with sides that echo its bright profile: think a cucumber‑mint salad, quinoa tossed with lemon zest, or roasted vegetables brushed with a garlic‑herb oil. The key is to keep the accompaniments light so the chicken remains the star. I love serving it with a simple parsley‑lemon vinaigrette drizzled over a medley of grilled zucchini and bell peppers.
🌈 Delicious Variations to Try
One of my favorite things about this recipe is how versatile it is. Here are some twists I've tried and loved:
Mediterranean Sunshine
Add a tablespoon of sun‑dried tomato paste to the marinade and swap rosemary for oregano. The result is a richer, slightly sweet undertone that pairs beautifully with a feta‑sprinkled Greek salad.
Spicy Citrus Kick
Incorporate a teaspoon of crushed red pepper flakes and a splash of orange juice into the mixture. This gives the chicken a gentle heat and a subtle orange‑lemon complexity that’s perfect for summer barbecues.
Herb‑Infused Butter Finish
After grilling, melt a pat of herb‑butter (mix softened butter with chopped thyme, lemon zest, and a pinch of salt) and dollop it over the hot chicken. The butter melts into a silky sauce that adds richness without masking the lemon’s brightness.
Asian‑Inspired Glaze
Swap the olive oil for sesame oil, add a tablespoon of soy sauce, and finish with a drizzle of honey. The resulting glaze is sweet, salty, and umami‑laden, making the chicken a hit at any Asian‑fusion dinner.
Greek Yogurt Marinated
Combine Greek yogurt, lemon zest, garlic, and dill to create a creamy marination base. The yogurt tenderizes the chicken further, while the dill adds a fresh, slightly tangy note that pairs well with a cucumber‑yogurt side.
Smoky Chipotle Lime
Replace half the lemon juice with lime juice and add a teaspoon of chipotle in adobo sauce to the marinade. This gives a smoky, slightly smoky heat that’s perfect for fall gatherings around a fire pit.
📦 Storage & Reheating Tips
Refrigerator Storage
Allow the grilled chicken to cool to room temperature (no more than two hours), then store it in an airtight container. It will keep fresh for up to four days. For best texture, place a thin slice of lemon on top of the chicken before sealing – the citrus helps maintain moisture.
Freezing Instructions
If you want to freeze leftovers, wrap each chicken breast tightly in plastic wrap, then place them in a freezer‑safe zip‑lock bag. They’ll stay good for three months. To thaw, move them to the refrigerator overnight and reheat gently; this prevents the meat from becoming rubbery.
Reheating Methods
The trick to reheating without drying it out? A splash of chicken broth or a drizzle of olive oil in a covered skillet over medium heat. Alternatively, reheat in a preheated oven at 300°F (150°C) for about 10 minutes, covered with foil to retain moisture, then uncover for the last two minutes to revive the crisp exterior.