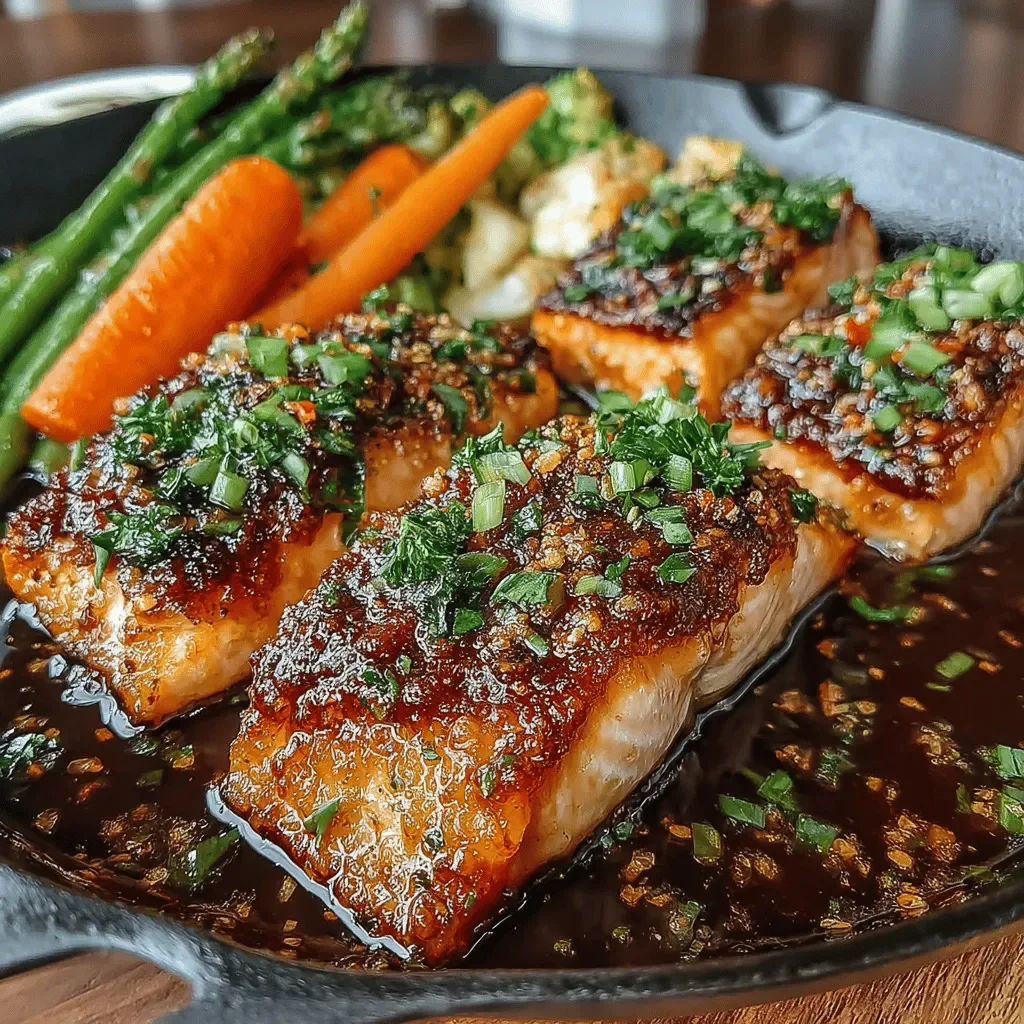
The first time I tried to make a special dinner for my kids on Valentine’s Day, I was standing in the kitchen with a heart‑shaped timer ticking away, the scent of sizzling olive oil drifting from the pan, and a chorus of giggles echoing from the living room. I remember the moment I lifted the lid on the skillet and a cloud of fragrant steam rose, carrying the sweet aroma of tomatoes, the earthy whisper of bell peppers, and the comforting warmth of melted cheese. My youngest grabbed a spoon, eyes wide, and declared, “It’s love in a pan!” That instant, I realized that a simple, well‑balanced dish could become a family ritual, a memory that would be retold at every Valentine’s gathering for years to come.
What makes this particular dinner so magical is its blend of textures and colors that speak directly to both kids and adults. The ground beef provides a hearty, savory base that feels like a warm hug, while the bright diced tomatoes add a burst of juicy acidity that cuts through the richness. The rice acts like a soft cushion, soaking up every flavor, and the shredded cheese on top creates a golden, gooey crown that kids can’t resist pulling apart. Every bite is a symphony of taste and texture, and the visual appeal—vivid reds, greens, and yellows—makes it feel like a celebration on a plate. Have you ever wondered why a dish that looks like a rainbow can also taste like comfort?
But here’s the secret: the success of this dinner isn’t just about the ingredients; it’s about the love you fold into each step. From the moment you heat the olive oil and hear it sizzle, to the instant the cheese starts to melt and turn a buttery amber, you’re creating a sensory experience that engages sight, smell, sound, and taste. The aroma alone can turn a regular Tuesday into a festive occasion, and the simple act of cooking together turns the kitchen into a classroom of love. Imagine your family gathered around the table, each forkful a reminder that love can be measured in teaspoons of seasoning and dollops of cheese.
Now, I’m going to share the exact method that turns this humble skillet into a Valentine’s masterpiece—one that will have your kids asking for seconds and your partner stealing a bite when they think you’re not looking. Trust me, the final reveal will make you want to write love notes on the back of your grocery list. Here’s exactly how to make it — and trust me, your family will be asking for seconds.
🌟 Why This Recipe Works
- Flavor Depth: The combination of seasoned ground beef, tangy tomatoes, and a dash of taco seasoning creates layers of flavor that develop as the dish cooks, delivering a taste that feels both familiar and exciting.
- Texture Harmony: Soft rice, juicy vegetables, and a crispy cheese topping give each bite a delightful contrast, keeping even the pickiest eaters interested from the first spoonful to the last.
- Ease of Execution: This is a one‑pan wonder—no multiple pots, no complicated techniques—so you can focus on the fun parts of the evening, like setting the table with heart‑shaped napkins.
- Time Efficiency: With just 15 minutes of prep and 30 minutes of cooking, you’ll have a wholesome dinner ready before the Valentine’s movie starts, leaving plenty of time for dessert.
- Versatility: The base recipe can be tweaked for different dietary preferences—swap beef for turkey, use cauliflower rice, or go vegetarian with beans—making it a family‑friendly staple.
- Nutrition Balance: You get protein from the beef, carbs from the rice, vitamins from the bell peppers, and calcium from the cheese, creating a well‑rounded meal that fuels growing bodies.
- Ingredient Quality: Using fresh bell peppers and ripe canned tomatoes elevates the dish, while a good-quality taco seasoning adds authentic depth without extra effort.
- Crowd‑Pleasing Factor: The bright colors and melty cheese are visual and tactile cues that children love, while the seasoned meat satisfies adult palates, making it a win‑win for the whole family.
🥗 Ingredients Breakdown
The Foundation
Starting with 1 lb ground beef, you’re laying down a sturdy, protein‑rich base that holds the dish together. Choose ground beef with a little fat (around 15‑20%) because the fat renders into the pan, creating a silky mouthfeel and helping the spices adhere. If you’re aiming for a leaner version, you can substitute with ground turkey, but remember to add a splash of olive oil to keep it from drying out. The beef also contributes a deep, umami richness that pairs beautifully with the bright tomato sauce later on.
Aromatics & Spices
A tablespoon of olive oil does more than prevent sticking; it carries the flavor of the taco seasoning and helps brown the meat evenly, giving you those coveted caramelized bits that add texture and taste. The 1 tablespoon taco seasoning is the secret love‑letter to your palate, blending cumin, paprika, garlic, and a hint of heat. If you’re feeling adventurous, add a pinch of smoked paprika for a subtle smoky undertone that will make the dish feel extra special.
The Secret Weapons
1 cup cooked rice is the silent hero—its neutral flavor absorbs the sauce, while its fluffy texture creates a comforting bed for the beef and veggies. I always recommend using leftover rice that’s been chilled; it holds its shape better when the skillet simmers. The 1 can diced tomatoes bring acidity and juiciness, balancing the richness of the meat and cheese. Choose a brand with no added sugars for the purest tomato taste. Finally, 1 cup shredded cheese (cheddar is my go‑to) melts into a golden blanket that turns the dish into a cheesy masterpiece. Feel free to mix mozzarella for stretch or pepper jack for a kick.
Finishing Touches
1 cup chopped bell peppers add crunch, sweetness, and a splash of color that makes the plate look festive—perfect for a Valentine's theme. Use a mix of red, yellow, and orange for a rainbow effect that kids love. Season with salt and black pepper to taste; the salt enhances all the flavors, while the pepper adds a subtle heat that rounds out the dish. Remember, seasoning is personal, so taste as you go and adjust until it sings.
With your ingredients prepped and ready, let's get cooking. Here's where the fun really begins...
🍳 Step-by-Step Instructions
-
Heat a large, heavy‑bottomed skillet over medium heat and drizzle the 1 tablespoon olive oil. As the oil shimmers, it’s whispering that it’s ready for the next step—listen for that gentle “sizzle” when you add the beef. Add the 1 lb ground beef and break it up with a wooden spoon, letting it brown evenly. You’ll notice the meat turning from bright pink to a deep, caramelized brown, releasing a savory aroma that fills the kitchen. Pro Tip: Don’t rush this; let the beef develop a crust before stirring, which adds depth to the final flavor.
-
Once the beef is mostly browned, sprinkle the 1 tablespoon taco seasoning over it, stirring quickly to coat every crumb. The spices will release a fragrant puff of cumin and paprika—if you close your eyes, you’ll almost hear a tiny “ding” of flavor hitting the pan. Continue cooking for another 2‑3 minutes, allowing the seasoning to toast slightly. This step is crucial because it unlocks the hidden layers of the seasoning, preventing a flat taste later on.
-
Add the 1 cup chopped bell peppers to the skillet, mixing them in with the seasoned meat. The peppers will sizzle and soften, turning a brighter shade as they release their natural sweetness. Cook for about 4‑5 minutes, stirring occasionally, until the peppers are tender but still retain a slight crunch—this contrast is what keeps kids engaged with every bite.
-
Now, pour in the 1 can diced tomatoes, including the juices. The skillet will bubble and steam, and the tomatoes will start to break down, forming a luscious sauce. Let the mixture simmer for 5‑7 minutes, allowing the flavors to meld. As the sauce thickens, you’ll notice the edges of the pan pulling away, a visual cue that the dish is coming together beautifully. Common Mistake: Over‑cooking the tomatoes can make the sauce too watery; keep an eye on the consistency.
-
Stir in the 1 cup cooked rice, folding it gently into the sauce. The rice will absorb the tomato‑beef broth, turning a rosy hue that looks like a Valentine’s heart at a glance. Cook for another 2 minutes, letting the rice heat through and soak up the flavors. If the mixture seems dry, splash in a tablespoon of water or broth; the goal is a moist, cohesive blend.
-
Season with salt and black pepper to taste. Sprinkle a pinch, stir, then taste—this is your moment to fine‑tune the balance. Remember, a little extra pepper can brighten the dish, while a dash more salt can bring out the sweetness of the tomatoes and peppers.
-
Sprinkle the 1 cup shredded cheese evenly over the top of the skillet. Watch as the cheese begins to melt, bubbling gently around the edges. Let it sit for about 2‑3 minutes, or until the cheese is fully melted and just starting to turn golden brown. The sight of the cheese melting is a visual cue that the dish is ready for the final flourish.
-
Turn off the heat and cover the skillet with a lid for 2 minutes. This resting period lets the cheese set slightly, making it easier to serve and allowing the flavors to settle. When you’re ready, scoop generous portions onto plates, garnish with a few extra bell pepper strips for color, and serve immediately. And the result? A warm, comforting, and visually stunning dinner that says “I love you” without saying a word.
And there you have it! But before you dig in, let me share some tips that will take this from great to absolutely unforgettable...
🔐 Expert Tips for Perfect Results
The Taste Test Trick
Before you finish, always give the dish a quick taste test. A small spoonful will reveal if you need a pinch more salt or a dash of extra pepper. I once served this to a chef friend who said the only thing missing was a tiny splash of lime juice—adding a squeeze of fresh lime right before serving brightens the entire plate.
Why Resting Time Matters More Than You Think
Allowing the skillet to rest for a couple of minutes after cooking lets the cheese firm up and the flavors meld. This short pause prevents the cheese from sliding off the plate and ensures each bite is balanced. I learned this the hard way when I served a hot, runny version to my kids and they ended up with cheese on the tablecloth.
The Seasoning Secret Pros Won’t Tell You
A pinch of smoked paprika or a dash of cayenne can transform the flavor profile from everyday to extraordinary. It adds a subtle depth that you might not notice at first, but it lingers on the palate, making the dish feel more sophisticated. Try it the next time you want to impress a guest without overcomplicating the recipe.
Cheese Placement Mastery
Instead of sprinkling all the cheese at once, try layering half before the final simmer and the rest on top just before serving. This creates a gooey base and a crispy top, giving you the best of both worlds. My family loves the contrast—it’s like having a soft hug and a playful tickle in the same bite.
The Power of Fresh Bell Peppers
Fresh, crisp bell peppers provide a burst of sweetness and a satisfying crunch that frozen peppers can’t match. If you can, buy them from a local farmer’s market where they’re at peak ripeness. The brighter the color, the sweeter the flavor, and the more your kids will associate the dish with fun and celebration.
🌈 Delicious Variations to Try
One of my favorite things about this recipe is how versatile it is. Here are some twists I've tried and loved:
Cheesy Taco‑Rice Bake
Transfer the skillet mixture to a baking dish, top with extra cheese, and bake at 375°F for 15 minutes. The oven creates a bubbly, golden crust that feels like a festive casserole—perfect for a cozy Valentine’s night.
Southwest Quinoa Switch
Replace the rice with cooked quinoa for a protein‑packed alternative. Quinoa’s nutty flavor pairs wonderfully with the taco seasoning, and the dish becomes gluten‑free without sacrificing texture.
Veggie‑Only Celebration
Swap the ground beef for black beans or lentils, and add corn kernels for extra sweetness. This plant‑based version still delivers heartiness and color, making it a great option for vegetarian families.
Spicy Chipotle Kick
Stir in a tablespoon of chipotle in adobo sauce along with the tomatoes. The smoky heat adds a grown‑up twist that balances the sweetness of the peppers, creating a dish that’s both comforting and adventurous.
Mediterranean Flair
Add a handful of Kalamata olives and a sprinkle of feta cheese instead of cheddar. The salty olives and tangy feta give the dish a Mediterranean vibe, perfect for a romantic twist on a family favorite.
📦 Storage & Reheating Tips
Refrigerator Storage
Allow the skillet to cool to room temperature, then transfer leftovers to an airtight container. It will keep fresh for up to 3 days. When reheating, add a splash of water or broth to restore moisture, and cover the pan to trap steam.
Freezing Instructions
Portion the cooled dish into freezer‑safe bags or containers, leaving a little headspace for expansion. Freeze for up to 2 months. To reheat, thaw overnight in the fridge, then warm gently on the stove over low heat, stirring occasionally.
Reheating Methods
The trick to reheating without drying it out? A splash of milk or broth, covered with a lid, and warmed on medium‑low for 5‑7 minutes. If you prefer a crispier top, pop it under the broiler for a minute after the cheese has melted again.