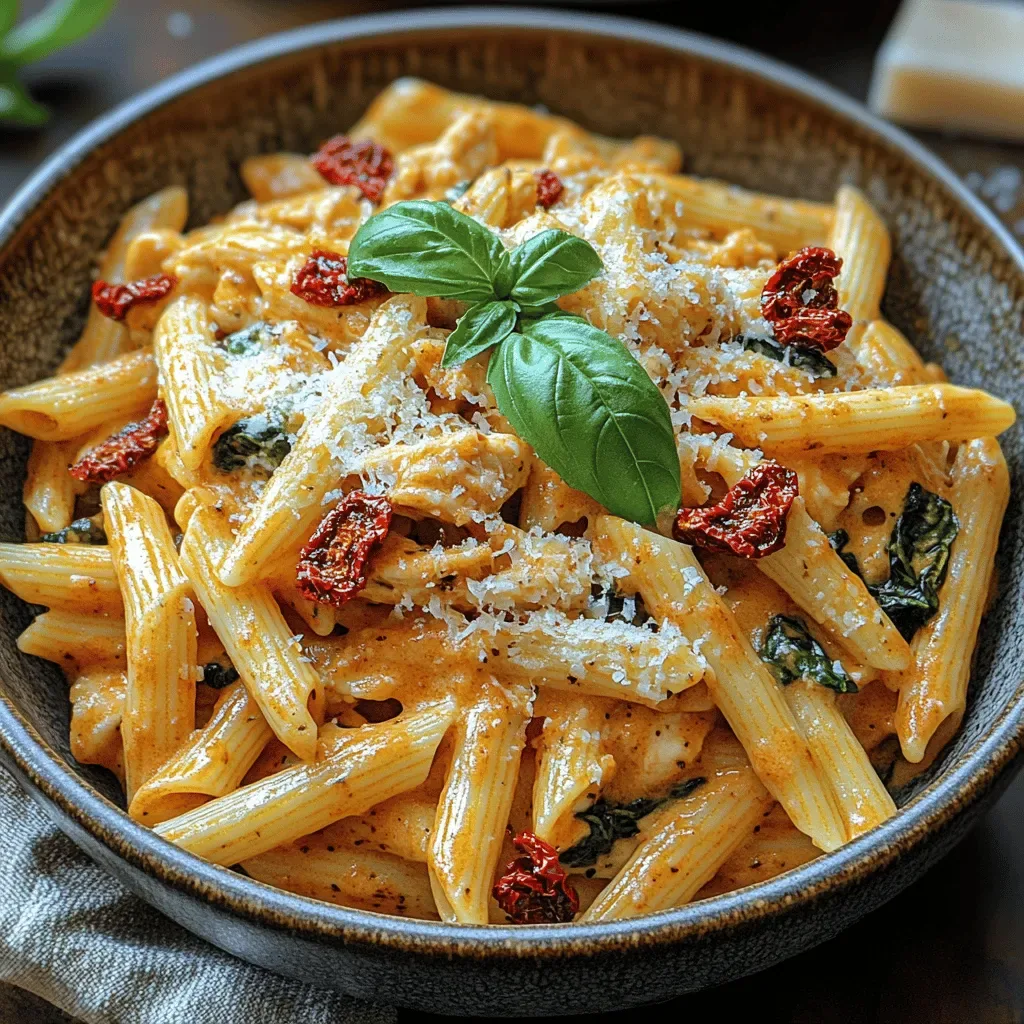
It was a crisp Saturday morning in late October, the kind of day when the kitchen smells like a promise of comfort and the world outside feels like a soft, woolen blanket. I was standing at the counter, peeling a mountain of orange‑gold sweet potatoes, the scent of earthy sweetness already filling the air, and my grandmother’s old tin pie pans were waiting like loyal companions. As the steam rose from the pot of boiling potatoes, I could hear the faint crackle of the old wood stove, and the whole house seemed to lean in, eager for what was about to happen. The memory of my grandmother humming an old folk tune while she rolled out the flaky crust still makes my heart flutter every time I think about these mini pies.
When you finally lift the lid off the oven, a cloud of fragrant steam hits you, carrying notes of caramelized sugar, warm cinnamon, and a whisper of nutmeg that dances like tiny fireflies on your tongue. The golden tops of the mini pies glisten with a buttery sheen, and the edges are perfectly crisp—just the right amount of bite to contrast the silky sweet‑potato filling inside. The first bite is a revelation: the buttery crust gives way to a velvety, spiced custard that feels both familiar and excitingly new. Imagine the delight of your family gathering around the table, each person reaching for another bite, eyes widening with each spoonful of that comforting, sweet‑savory goodness.
What makes this recipe truly special is the balance of flavors and textures that I’ve refined over countless family gatherings. The sweet potatoes provide natural sweetness and a creamy base, while the butter‑rich crust adds a satisfying crunch, and the blend of spices creates a depth that feels like a hug from the inside. But there’s a secret trick that most people miss—a splash of heavy cream added at the very end of the filling stage, which turns the mixture from merely thick to luxuriously smooth. Trust me, you’ll notice the difference the moment you taste it, and you’ll wonder how you ever lived without it.
Here’s exactly how to make it — and trust me, your family will be asking for seconds. In the next sections, I’ll walk you through why this recipe works, break down every ingredient, and guide you step‑by‑step through the process, sprinkling in pro tips, common pitfalls, and a few surprising twists along the way. Ready to dive in? Let’s get started, because the best part is just around the corner.
🌟 Why This Recipe Works
- Flavor Depth: The combination of sweet potato, brown sugar, and warm spices creates layers of flavor that deepen as the pies cool, allowing the sugars to caramelize gently against the crust.
- Texture Harmony: A flaky, buttery crust contrasts with a silky, custard‑like filling, delivering a satisfying bite that keeps both kids and adults reaching for more.
- Ease of Execution: Using pre‑made pie crust or a simple pastry dough reduces prep time, while the filling can be made entirely on the stovetop, eliminating the need for a separate baking dish.
- Time Efficiency: With a total time of just 45 minutes, this dish fits perfectly into a weekend brunch or a holiday dessert spread without monopolizing the oven.
- Versatility: The mini size makes these pies ideal for potlucks, catering, or a cozy family dinner, and they can be served warm or at room temperature.
- Nutrition Boost: Sweet potatoes are packed with beta‑carotene, fiber, and vitamins A and C, giving you a dessert that feels indulgent yet offers a nutritional edge.
- Ingredient Quality: Fresh, locally sourced sweet potatoes and high‑quality butter elevate the dish, turning simple pantry staples into a gourmet experience.
- Crowd‑Pleasing Factor: The familiar flavors of cinnamon and brown sugar combined with a novel presentation make these pies a hit for both traditionalists and adventurous eaters.
🥗 Ingredients Breakdown
The Foundation: Sweet Potatoes & Butter
The heart of these pies is the sweet potato, a tuber that brings natural sweetness and a creamy texture when mashed. Choose firm, orange‑fleshed potatoes that feel heavy for their size—these usually have the highest sugar content, which translates to a richer filling. Peel them carefully; the skin can add a slightly bitter note that you don’t want in a dessert. As for butter, opt for unsalted, high‑fat butter; the higher fat content ensures a tender crust and a glossy finish on the filling. If you’re feeling adventurous, you can replace half the butter with browned butter for a nutty undertone that adds depth.
Aromatics & Spices: Cinnamon, Nutmeg, Ginger
Cinnamon is the classic warm spice that instantly conjures images of autumnal kitchens, while nutmeg adds a subtle, slightly sweet earthiness. Ground ginger brings a gentle zing that cuts through the sweetness, preventing the pies from becoming cloying. To maximize flavor, toast the spices in a dry skillet for 30 seconds before adding them to the filling; this releases essential oils and intensifies their aroma. If you’re out of fresh ginger, a pinch of ground ginger works just as well, though the flavor will be milder.
The Secret Weapons: Heavy Cream & Brown Sugar
Heavy cream is the unsung hero that transforms the filling from a thick mash into a luxurious custard. It adds richness and a silky mouthfeel that makes each bite melt in your mouth. Brown sugar, with its molasses undertones, deepens the overall sweetness and contributes a caramel note that pairs beautifully with the spices. For a healthier twist, you can swap half the brown sugar with coconut sugar, which adds a subtle caramel flavor while lowering the glycemic impact.
Finishing Touches: Vanilla & Salt
A splash of pure vanilla extract rounds out the flavor profile, adding a fragrant sweetness that ties all the spices together. Salt may seem counterintuitive in a dessert, but a pinch of fine sea salt amplifies the sweet and spicy notes, preventing the pies from tasting flat. If you love a hint of crunch, sprinkle toasted pecans or walnuts on top before baking; the nuts toast alongside the crust, adding a delightful contrast.
With your ingredients prepped and ready, let's get cooking. Here's where the fun really begins...
🍳 Step-by-Step Instructions
Preheat your oven to 375°F (190°C) and lightly grease a mini muffin tin or individual tart pans. While the oven warms, line each cup with a small circle of pastry dough, gently pressing it into the sides and up the edges. The dough should be about 1/8 inch thick; if it tears, patch it with a tiny dab of water and press gently. This step creates the buttery crust that will hold the sweet potato filling in perfect little pockets.
💡 Pro Tip: Freeze the crusted tins for 10 minutes before filling; this helps the dough keep its shape during baking.Peel and cube about 2 pounds of sweet potatoes, then place them in a large pot of cold water. Bring to a gentle boil, then reduce to a simmer and cook for 15‑20 minutes, or until the potatoes are fork‑tender. Drain well and return the potatoes to the pot, allowing any excess moisture to evaporate for a minute over low heat. This extra drying step prevents a watery filling later on.
Mash the sweet potatoes until smooth, then stir in 1/2 cup melted unsalted butter, 1/3 cup packed brown sugar, and 1/4 cup heavy cream. Mix until the butter is fully incorporated and the mixture glistens. At this point, the filling should have a glossy, velvety texture that’s still thick enough to hold its shape when spooned.
Add 2 large eggs, one at a time, beating well after each addition. The eggs act as a binder, giving the filling a custard‑like consistency that sets beautifully in the oven. Then whisk in 1 teaspoon vanilla extract, 1 teaspoon ground cinnamon, 1/2 teaspoon ground nutmeg, and 1/4 teaspoon ground ginger. The spices should perfume the kitchen instantly, making you want to taste the mixture right then and there.
⚠️ Common Mistake: Over‑mixing the filling can incorporate too much air, causing the pies to rise unevenly and develop cracks.Spoon the filling into the prepared crusts, filling each about three‑quarters full. The extra space allows the filling to puff slightly without spilling over. Smooth the tops with the back of a spoon or a small offset spatula, creating a gentle dome that will brown evenly.
Place the tin on the middle rack of the preheated oven and bake for 20‑25 minutes, or until the crust edges are golden brown and the filling is set but still slightly wobbly in the center. You’ll know they’re done when a thin crust forms and a faint caramel aroma fills the kitchen. If you like a deeper color, switch the oven to broil for the last 2 minutes, watching closely to avoid burning.
Remove the pies from the oven and let them cool in the tin for 5 minutes, then transfer to a wire rack. This short cooling period allows the filling to firm up, making it easier to remove the pies without breaking the crust. As they cool, the flavors continue to meld, and the edges become perfectly crisp.
Before serving, dust each mini pie with a light sprinkle of powdered sugar and, if desired, a few toasted pecan pieces for crunch. The final touch adds a visual sparkle and a textural contrast that elevates the whole experience. Serve warm, or let them come to room temperature for a softer bite—either way, they’re unforgettable.
And there you have it! But before you dig in, let me share some tips that will take this from great to absolutely unforgettable...
🔐 Expert Tips for Perfect Results
The Taste Test Trick
Before you bake the entire batch, spoon a tiny dollop of the filling onto a small piece of crust and bake it for a minute. This quick test reveals whether the seasoning balance is just right; you can adjust with a pinch more salt or a dash of cinnamon if needed. Trust me, this tiny experiment saves you from an entire tray of under‑seasoned pies.
Why Resting Time Matters More Than You Think
After the pies come out of the oven, let them rest for at least 10 minutes before serving. This resting period allows the custard to set fully, ensuring clean slices and preventing the filling from sliding out. I once served them straight from the oven, and the filling was so runny that it pooled onto the plate—definitely a lesson learned!
The Seasoning Secret Pros Won’t Tell You
A pinch of fine sea salt added to the sweet potato mash before the butter makes the sweetness pop, while a dash of smoked paprika adds a subtle smoky undertone that most home cooks miss. It’s a secret I picked up from a pastry chef who swore by the “sweet‑savory contrast” technique, and it truly elevates the flavor profile.
Crust Perfection: The Butter Temperature Hack
Keep your butter cold right up until you blend it into the flour for the crust. Cold butter creates pockets of steam when baked, which lift the dough into airy, flaky layers. I once left the butter out for too long, and the crust turned out dense—never again!
The Moisture Mastery Method
If you notice your mashed sweet potatoes are too watery, return them to the pot over low heat and stir constantly until the excess moisture evaporates. This step is crucial because too much moisture will make the filling soggy, and nobody wants a soggy pie.
Serving with a Sauce: A Game Changer
A drizzle of caramel sauce or a dollop of lightly sweetened whipped cream adds an extra layer of indulgence. I love pairing a thin caramel ribbon with a dusting of sea salt; the sweet‑salty combo makes the pies unforgettable. The result? Your guests will be asking for the recipe before the last bite disappears.
🌈 Delicious Variations to Try
One of my favorite things about this recipe is how versatile it is. Here are some twists I've tried and loved:
Maple‑Bacon Mini Pies
Swap half the brown sugar for pure maple syrup and fold in crisp‑cooked bacon bits into the filling. The smoky bacon pairs beautifully with the sweet potatoes, while the maple adds a caramel depth that feels autumnal in the best way.
Coconut‑Lime Dream
Replace heavy cream with coconut milk, add a teaspoon of lime zest, and finish with toasted coconut flakes on top. This tropical spin brings a bright, citrusy contrast to the earthy sweet potato, perfect for summer gatherings.
Chocolate‑Swirl Surprise
Stir in a tablespoon of melted dark chocolate into the filling and sprinkle mini chocolate chips before baking. The chocolate adds richness and a hint of bitterness that balances the natural sweetness.
Spiced Apple Fusion
Fold in finely diced cooked apples seasoned with cinnamon and a pinch of clove. The apples add a juicy burst and a subtle tartness that complements the creamy sweet potato.
Nutty Crunch Delight
Mix toasted almond slivers or chopped pecans into the crust dough and sprinkle extra on top before baking. The nuts give an additional textural contrast and a nutty aroma that rounds out the flavor profile.
Savory Herb Twist
Add a tablespoon of fresh rosemary or thyme to the crust and a pinch of smoked paprika to the filling. This savory version works wonderfully as an appetizer at a dinner party, showcasing the sweet potato in a new light.
📦 Storage & Reheating Tips
Refrigerator Storage
Allow the pies to cool completely, then transfer them to an airtight container and store in the refrigerator for up to 4 days. The crust may lose a bit of its crispness, but a quick reheating will bring it back.
Freezing Instructions
Wrap each cooled pie individually in plastic wrap, then place them in a freezer‑safe zip‑top bag. They’ll keep for up to 2 months. When you’re ready to enjoy them, thaw overnight in the fridge and reheat as described below.
Reheating Methods
To reheat without drying out, place the pies on a baking sheet, brush the tops lightly with melted butter, and warm in a 300°F oven for 10‑12 minutes. For a microwave fix, cover with a damp paper towel and heat for 30‑45 seconds, though the crust will be softer. The trick to reheating without drying it out? A splash of milk or cream brushed on the surface before warming restores moisture and shine.