It was a crisp Saturday morning in late October, the kind of day when the kitchen feels like a warm hug and the scent of falling leaves drifts through the open windows. I was rummaging through my pantry, eyes scanning for something that could turn the ordinary into the extraordinary, when I spotted a half‑full jar of pumpkin puree beside a bunch of overripe bananas begging for a second chance. The moment I lifted the lid of the pumpkin jar, a cloud of sweet, earthy steam rose up, mingling with the faint caramel notes of the bananas, and I knew I was onto something special. I imagined a loaf that would capture that autumnal perfume, a bread that could be sliced for a cozy breakfast or a comforting snack after a chilly walk.
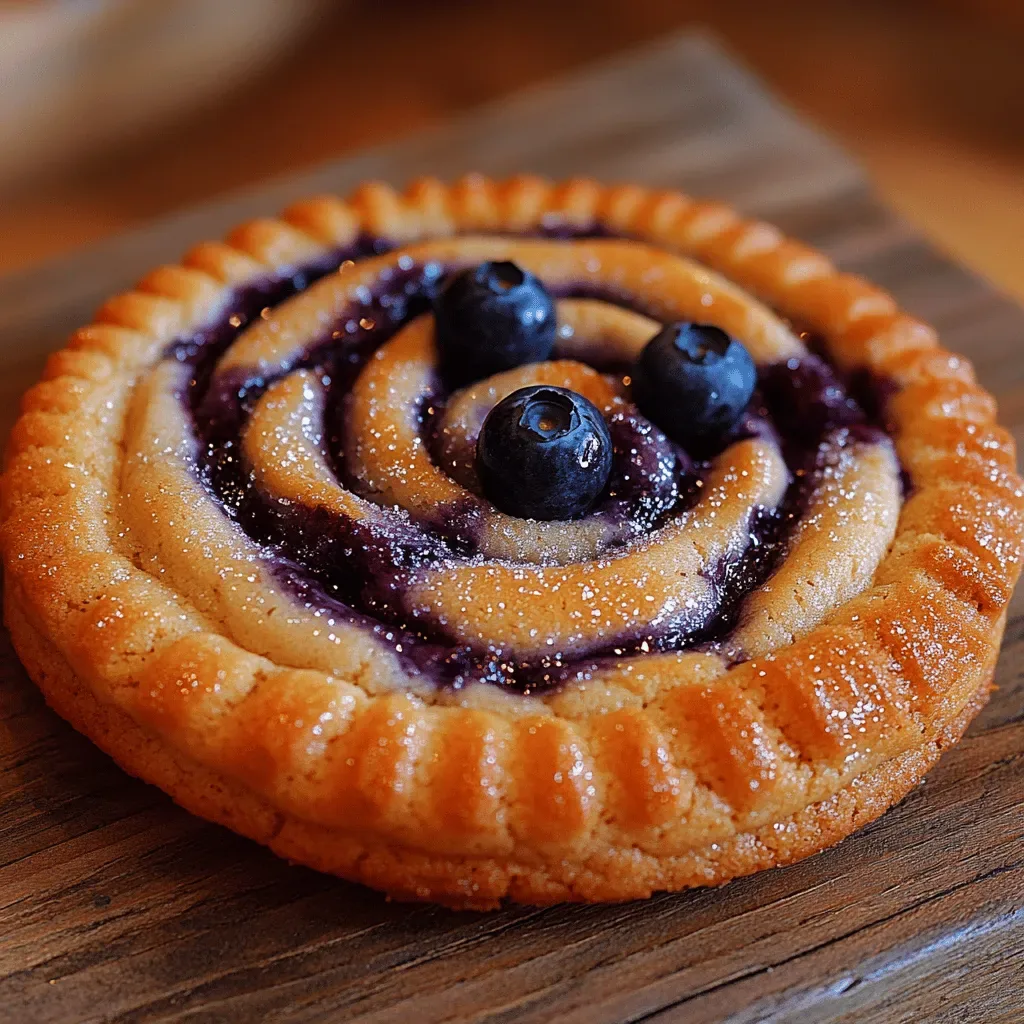
The idea of marrying pumpkin and banana isn’t new, but adding generous pockets of melty chocolate chips turns it into a celebration of flavors that feels both nostalgic and daring. Picture the first bite: the tender crumb soaked with pumpkin’s subtle spice, the natural sweetness of banana, and the surprise of dark chocolate that melts like a tiny indulgent secret. As the loaf cools, the aroma deepens, and you’ll hear the faint crackle of the crust as you cut through—an auditory reminder that something truly delicious is happening inside. The texture is a perfect balance of moist and airy, with just enough structure to hold those chocolate islands without crumbling apart.
What makes this recipe a must‑try isn’t just the flavor symphony; it’s also the way it brings people together. I’ve watched kids race to the kitchen to steal a warm slice, adults linger over coffee while the loaf cools, and even my skeptical brother—who claims he never likes “sweet breads”—ask for seconds. The magic lies in the simplicity of the steps, the accessibility of the ingredients, and the way each element supports the other, creating a loaf that feels like a hug in every bite. But wait—there’s a secret trick in step four that elevates the crumb from good to unforgettable, and I’ll spill the beans later.
So, are you ready to create a loaf that smells like autumn, tastes like comfort, and looks like a masterpiece on your serving board? Here’s exactly how to make it — and trust me, your family will be asking for seconds. Grab your mixing bowls, preheat that oven, and let’s dive into the world of Sweet Pumpkin Banana Chocolate Chip Bread.
🌟 Why This Recipe Works
- Flavor Depth: The combination of pumpkin and banana creates a layered sweetness that’s both earthy and bright, while the chocolate chips add a burst of richness that balances the spices perfectly.
- Moisture Mastery: Pumpkin puree and mashed bananas act as natural humectants, ensuring the bread stays tender for days without the need for excessive butter or oil.
- Texture Harmony: The use of both baking soda and baking powder gives the loaf a light, airy crumb while maintaining enough structure to hold the chocolate chips in place.
- Ease of Execution: All the steps involve simple mixing techniques that even a beginner can master, and the ingredients are pantry‑friendly, meaning you won’t need a special trip to the store.
- Versatility: This bread can be served warm with butter, toasted for a crunchy snack, or even turned into French toast the next morning—each variation brings out a new facet of its flavor.
- Nutrition Boost: Pumpkin brings beta‑carotene and fiber, bananas add potassium and natural sugars, and the chocolate chips provide a modest dose of antioxidants, making the loaf a balanced treat.
- Crowd‑Pleaser Factor: The familiar flavors of pumpkin spice and chocolate appeal to both kids and adults, making it the perfect centerpiece for holiday brunches or casual family breakfasts.
🥗 Ingredients Breakdown
The Foundation: Pumpkin & Banana
Pumpkin puree is the heart of this loaf, providing a silky, slightly sweet base that carries the spice profile throughout. Choose a pure pumpkin puree that’s 100% pumpkin, without added sugars or spices, to keep the flavor clean and let the banana’s natural sweetness shine. The bananas, when fully ripe, bring a caramel‑like depth that complements the pumpkin’s earthiness while also acting as a natural sweetener, reducing the need for excessive added sugar. If you can’t find fresh pumpkin, a good quality canned puree works just as well—just be sure to give it a quick stir to break up any lumps before using.
Aromatics & Spices: The Warm Embrace
Cinnamon and nutmeg are the dynamic duo that turn this bread into a quintessential fall treat. Cinnamon adds a sweet, woody aroma that instantly conjures images of cozy kitchens, while nutmeg contributes a subtle, nutty undertone that rounds out the flavor profile. Freshly ground spices are always best; they release essential oils that bottled spices lose over time. A pinch of salt might seem minor, but it amplifies the sweetness and balances the overall taste, ensuring the loaf isn’t cloyingly sweet.
The Secret Weapons: Butter & Chocolate Chips
Melted butter (or a light oil if you prefer) enriches the crumb, giving it a luxurious mouthfeel and a golden crust. Butter also helps the chocolate chips stay semi‑melted within the loaf, creating pockets of gooey delight. Speaking of chocolate, using semi‑sweet or dark chocolate chips adds a bitter contrast that cuts through the sweetness of the pumpkin and banana, preventing the loaf from feeling one‑dimensional. If you’re feeling adventurous, try a blend of white chocolate and dark chocolate for a sweet‑bitter swirl.
Finishing Touches: Crunch & Extras
A handful of chopped walnuts or pecans adds a pleasant crunch and a nutty aroma that pairs beautifully with the pumpkin spice. This optional addition also introduces healthy fats and a bit of protein, making the loaf a more balanced snack. For those who love a hint of citrus, a teaspoon of orange zest can brighten the flavor, but it’s entirely optional. The key is to keep the balance—each addition should enhance, not overpower, the core flavors.
With your ingredients prepped and ready, let's get cooking. Here's where the fun really begins...

🍳 Step-by-Step Instructions
Preheat your oven to 350°F (175°C) and grease a 9×5‑inch loaf pan with butter or line it with parchment paper. As the oven warms, the kitchen will fill with the faint scent of butter melting—an early promise of the golden crust to come. While you wait, take a moment to line the pan; this small step ensures the loaf releases cleanly, preserving its beautiful shape. Trust me on this one: a well‑prepared pan is the difference between a perfect slice and a crumbling mess.
In a large mixing bowl, combine 1 cup of pumpkin puree, 2 mashed ripe bananas, ½ cup melted butter, ½ cup brown sugar, and ¼ cup granulated sugar. Whisk until the mixture is smooth and the sugars dissolve, creating a glossy, caramel‑colored batter. The aroma at this stage is intoxicating—a sweet, earthy perfume that hints at the flavors to come. Here’s the thing: don’t rush the whisking; a thorough blend ensures the sugars are evenly distributed, preventing pockets of over‑sweetness.
Add 2 large eggs, one at a time, beating well after each addition, then stir in 1 teaspoon of vanilla extract. The batter will become richer and slightly puffier as the eggs incorporate air, setting the stage for a light crumb. If you notice the mixture looks a bit curdled, keep whisking—this is normal and will smooth out once the dry ingredients are folded in. Now, here's where it gets interesting: the vanilla adds a subtle floral note that lifts the entire flavor profile.
In a separate bowl, whisk together 1 ¾ cups all‑purpose flour, 1 teaspoon baking soda, 1 teaspoon baking powder, ½ teaspoon salt, 1 teaspoon ground cinnamon, and ¼ teaspoon ground nutmeg. The dry mix should be uniform, with the spices evenly dispersed—this prevents any clumps of cinnamon from creating bitter hotspots. Once combined, set the bowl aside; the dry ingredients are the scaffolding that will give the loaf its structure. But wait until you see the secret trick in step four that will keep the crumb ultra‑moist...
Gently fold the dry mixture into the wet batter using a rubber spatula, turning the bowl over and over in a slow, circular motion. Stop mixing as soon as you no longer see flour streaks; over‑mixing can develop gluten, leading to a dense, tough bread. The batter should look thick yet pourable, with a beautiful amber hue from the pumpkin. Here’s the secret: add a splash of buttermilk (about ¼ cup) if the batter feels too thick—this adds acidity that reacts with the baking soda for extra lift.
Fold in 1 cup of chocolate chips and, if you like, ¼ cup of chopped walnuts or pecans. The chips should be evenly distributed, creating specks of chocolate that will melt into pockets of gooey goodness during baking. If you’re using nuts, give them a quick toast in a dry pan for 2 minutes to bring out their buttery flavor. The result? A loaf that looks speckled like a treasure map, promising delicious discoveries in every bite.
Spoon the batter into the prepared loaf pan, smoothing the top with a spatula. As you level the surface, you’ll notice a faint sheen—this is the butter and sugar caramelizing, a sign that the crust will turn beautifully golden. Place the pan in the middle rack of the oven to ensure even heat distribution. Bake for 30‑35 minutes, or until a toothpick inserted into the center comes out with just a few moist crumbs and the top is a deep, inviting brown.
While the bread bakes, set a timer and resist the urge to open the oven door—every peek drops the temperature and can affect the rise. When the timer goes off, rotate the pan 180° halfway through baking; this small adjustment promotes uniform browning, especially if your oven has hot spots. As the loaf nears completion, the kitchen will be filled with a warm, spicy perfume that makes it impossible to stay away from the oven. The result? A crust that crackles softly when you tap it, promising a tender interior.
Remove the loaf from the oven and let it rest in the pan for 10 minutes; this allows the crumb to set, making slicing easier. Then transfer the bread to a wire rack to cool completely—this prevents the bottom from becoming soggy. Once cooled, slice with a serrated knife, and you’ll see the beautiful marbled interior, studded with chocolate chips that glisten like tiny jewels. Go ahead, take a taste — you’ll know exactly when it’s right: the perfect balance of sweet, spice, and chocolate.
And there you have it! But before you dig in, let me share some tips that will take this from great to absolutely unforgettable...
🔐 Expert Tips for Perfect Results
The Taste Test Trick
Before you bake, give the batter a quick taste—yes, even with raw egg! A small spoonful will reveal if the sweetness or spice needs a tweak. If it feels too bland, add a pinch more cinnamon or a drizzle of maple syrup. This proactive step saves you from a bland loaf and ensures each bite sings. Trust me on this one: a tiny adjustment before the oven can make a world of difference.
Why Resting Time Matters More Than You Think
Allowing the loaf to rest for at least 10 minutes in the pan, then cooling on a rack, isn’t just about convenience—it lets the steam redistribute, keeping the crumb moist and the crust crisp. Skipping this step often results in a gummy interior that falls apart when sliced. I once served a loaf straight from the pan, and the texture was disappointingly dense; after that, I never skip the rest.
The Seasoning Secret Pros Won’t Tell You
A dash of espresso powder (about ½ teaspoon) amplifies the chocolate flavor without adding a coffee taste. This technique is a favorite among pastry chefs who want to deepen chocolate notes subtly. Mix it into the dry ingredients for even distribution. The result is a richer, more complex flavor profile that even the most discerning palate will appreciate.
The Moisture Lock Method
If you’re baking in a dry climate, place a shallow pan of hot water on the lower rack of the oven. The steam created will keep the bread’s interior from drying out, resulting in a tender crumb. This trick is especially useful during winter months when indoor heating can sap moisture from baked goods. I discovered this method during a particularly dry November, and the difference was night and day.
Serving with Flair
A light dusting of powdered sugar or a drizzle of cream cheese frosting adds visual appeal and a touch of extra sweetness. Pair the loaf with a hot mug of spiced chai or a cold glass of almond milk for a balanced breakfast. Even a simple smear of butter, letting it melt into the warm slice, creates a luxurious mouthfeel. The best part? This bread stays delicious for up to three days, making it perfect for meal prep.
🌈 Delicious Variations to Try
One of my favorite things about this recipe is how versatile it is. Here are some twists I've tried and loved:
Maple‑Pecan Crunch
Swap the chocolate chips for 1 cup of toasted pecans and add 2 tablespoons of pure maple syrup to the wet mixture. The result is a nutty, caramel‑laden loaf that feels like a holiday treat. The maple pairs beautifully with the pumpkin, adding a subtle woodsy sweetness.
Cocoa‑Swirl Delight
Add 2 tablespoons of unsweetened cocoa powder to half of the wet batter, then swirl the chocolate‑infused batter into the plain batter before baking. This creates a marbled effect and a richer chocolate flavor that complements the pumpkin without overwhelming it.
Apple‑Cinnamon Fusion
Fold in ½ cup of finely diced, sautéed apples and increase the cinnamon to 1½ teaspoons. The apples add a juicy burst and a slight tartness that brightens the loaf, making it perfect for a late‑summer brunch.
Zesty Orange‑Chocolate
Add the zest of one orange to the wet ingredients and use dark chocolate chips instead of semi‑sweet. The citrus lifts the flavor, while the bittersweet chocolate adds depth, creating a sophisticated flavor combo that’s great for adult gatherings.
Vegan Velvet
Replace the butter with coconut oil, use flax‑egg (1 tablespoon ground flaxseed + 3 tablespoons water per egg), and swap the chocolate chips for dairy‑free varieties. The loaf remains moist and flavorful, proving that you don’t need dairy to achieve that velvet crumb.
📦 Storage & Reheating Tips
Refrigerator Storage
Wrap the cooled loaf tightly in plastic wrap or store it in an airtight container; it will stay fresh for up to 4 days. The key is to keep it sealed, preventing the crumb from drying out. For extra freshness, place a slice of fresh apple in the container—its moisture helps maintain the bread’s softness.
Freezing Instructions
Slice the loaf before freezing, then lay the slices on a parchment‑lined tray and freeze until solid. Transfer the frozen slices to a zip‑top bag, removing as much air as possible. This method lets you pop out a slice whenever you crave it, and the bread will keep for up to 3 months without losing flavor.
Reheating Methods
To reheat, preheat your oven to 300°F (150°C) and warm a slice for 8‑10 minutes, or microwave for 20‑30 seconds with a damp paper towel over it. The trick to reheating without drying it out? A splash of milk or a drizzle of melted butter before warming adds moisture and restores that fresh‑baked sheen.