The first time I pulled a pizza out of the oven and watched the cheese stretch like sunrise over a meadow, I knew I had stumbled onto something magical. It was a chilly Saturday evening, the kind where the wind whistles through the cracks in the kitchen window and the scent of a slow‑fermenting sourdough starter fills the air like a promise. I had a cup of sourdough discard that I was about to toss, but instead I whisked it into a dough that smelled of toasted wheat and earthy tang. The moment you lift the lid, a cloud of fragrant steam hits you, carrying whispers of caramelized crust, roasted broccoli, and sweet red pepper. Imagine the crunch of the crust echoing the snap of fresh broccoli, the tender bite of chicken, and the subtle heat of a hint of red pepper—this isn’t just a pizza, it’s a celebration of leftovers turned into a masterpiece.
What makes this recipe truly special is how it embraces the humble discard, turning what many consider waste into a flavorful foundation. The sourdough discard gives the crust a depth of flavor that you simply can’t get from a standard yeast dough—think of it as the secret backstage pass to a flavor concert. The chicken brings protein and a juicy bite, while the broccoli adds a bright, slightly bitter crunch that balances the richness of the cheese. And the red peppers? They pop with sweetness and a faint char that sings with the caramelized edges of the crust. But wait—there’s a secret trick in step four that will take your crust from good to unforgettable, and I’m saving that for later.
If you’ve ever wondered why restaurant pizzas taste so different from the frozen ones you grab at the grocery store, the answer often lies in the dough. A sourdough‑based crust brings a natural leavening power, a subtle tang, and a chewy interior that holds up to generous toppings without getting soggy. It’s also forgiving—if you’re a beginner, the discard dough is more tolerant of timing slips, giving you a safety net while you experiment with flavors. The best part? You’ll be using an ingredient that would otherwise be tossed, reducing waste and adding a touch of sustainability to your dinner table.
Now, I’m going to walk you through every step, from gathering the perfect ingredients to the moment you slice that golden‑brown masterpiece and watch the cheese pull. Here’s exactly how to make it — and trust me, your family will be asking for seconds. Ready? Let’s dive in and turn that sourdough discard into a pizza that will become a new family favorite.
🌟 Why This Recipe Works
- Flavor Depth: The sourdough discard introduces a gentle tang that layers beneath the savory toppings, creating a complex flavor profile that feels both rustic and refined.
- Texture Contrast: A crust that’s crisp on the edges yet airy inside provides the perfect canvas for the tender chicken and crisp broccoli, ensuring each bite is a harmonious mix of crunch and chew.
- Ease of Preparation: Because the discard already contains wild yeast, you can skip a long rise, making this a weeknight-friendly pizza without sacrificing quality.
- Time Efficiency: With a total hands‑on time of about 15 minutes and a bake of 30 minutes, you get a restaurant‑grade pizza in under an hour.
- Versatility: The base can be adapted to any topping you have on hand—think sausage, mushrooms, or even a sweet fig and goat cheese twist.
- Nutrition Boost: Adding chicken and broccoli turns this indulgent treat into a balanced meal packed with protein, fiber, and vitamins.
- Ingredient Quality: Using fresh, locally sourced vegetables and high‑quality cheese elevates the dish from everyday to extraordinary.
- Crowd‑Pleasing Factor: The colorful medley of red pepper, green broccoli, and golden cheese makes it visually appealing, while the familiar flavors keep everyone smiling.
🥗 Ingredients Breakdown
The Foundation: Sourdough Discard Dough
The heart of this pizza is the sourdough discard, a by‑product of maintaining a starter that many people discard without a second thought. Using 1 cup of discard not only reduces waste but also injects the dough with natural acids that create a subtle tang and improve the crust’s browning. Pair it with 2 cups of all‑purpose flour for structure, 1/2 cup of warm water to hydrate, and a splash of olive oil for a tender crumb. A pinch of sugar feeds the remaining yeast, while 1 teaspoon of active dry yeast gives the dough a reliable lift, especially if your discard is a bit shy on activity. Salt, of course, enhances flavor and strengthens gluten. This combination yields a dough that’s both resilient and flavorful.
Aromatics & Spices: Building the Flavor Base
Garlic powder and dried oregano are the silent heroes that whisper Mediterranean vibes into every bite. The garlic powder adds a mellow, aromatic depth without the risk of burning raw garlic, while oregano brings a herbaceous note that complements the tomato sauce and cheese. A dash of crushed red pepper flakes (optional) adds a gentle heat that awakens the palate, and freshly cracked black pepper adds a final layer of spice. These spices are added to the sauce and sprinkled on the crust before baking, ensuring they bloom under the heat.
The Secret Weapons: Protein & Veggie Power
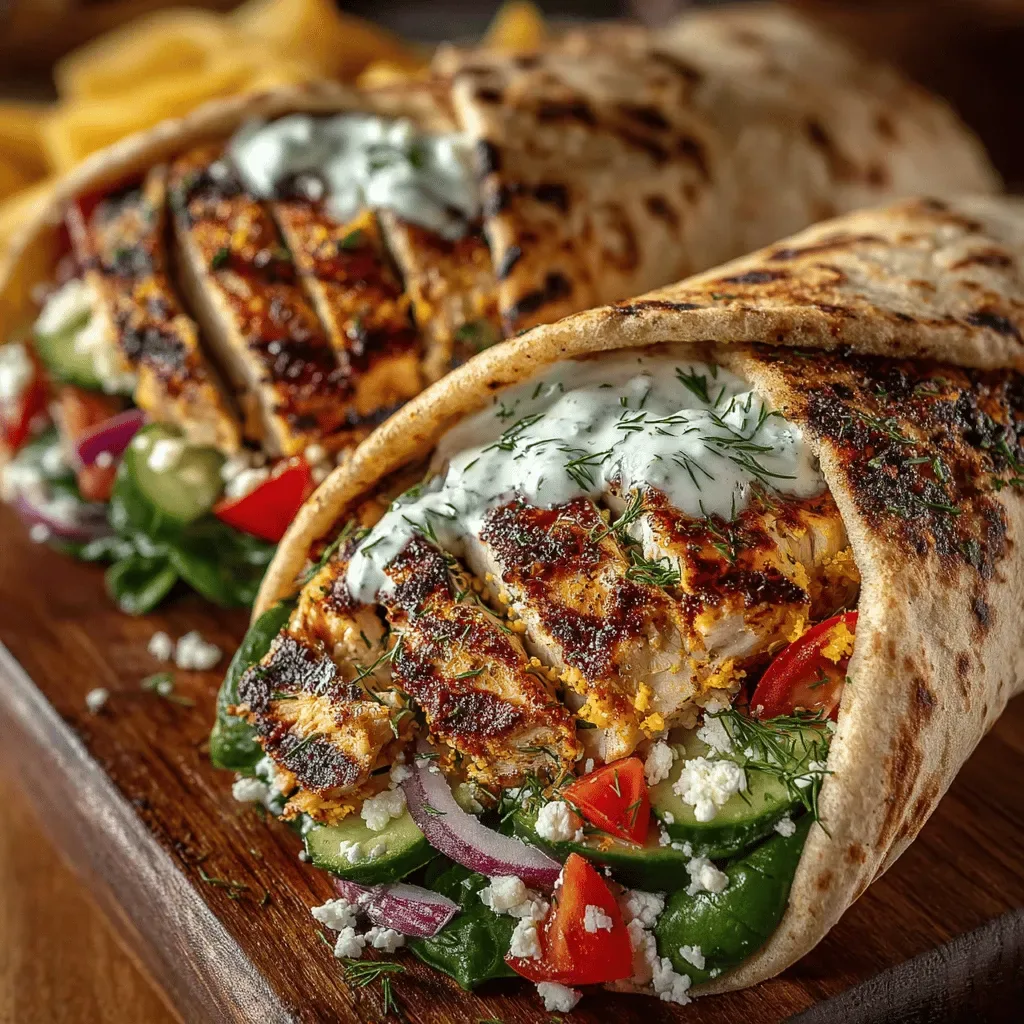
Cooked chicken breast, sliced thin, provides lean protein and a satisfying bite. I recommend grilling or pan‑searing the chicken with a pinch of salt and pepper before adding it to the pizza; this adds a caramelized exterior that pairs beautifully with the cheese. Broccoli florets, blanched just until bright green, retain a crisp texture and a subtle earthiness that cuts through the richness of the cheese. Red bell peppers, sliced into thin strips, bring a sweet crunch and a pop of color that makes the pizza look as vibrant as it tastes. Together, they create a balanced trio of flavors and textures.
Finishing Touches: Cheese & Sauce
A simple tomato sauce made from canned crushed tomatoes, a drizzle of olive oil, and the same oregano and garlic powder creates a cohesive flavor bridge between the crust and toppings. For the cheese, a generous 2 cups of shredded mozzarella melts into a golden blanket that pulls beautifully when you slice. If you love a little extra depth, sprinkle a handful of grated Parmesan before baking; it will create those delightful crispy specks on the crust. Finally, a light drizzle of extra‑virgin olive oil right after the pizza comes out of the oven adds a glossy finish and a silky mouthfeel.
With your ingredients prepped and ready, let's get cooking. Here's where the fun really begins...
🍳 Step-by-Step Instructions
-
In a large mixing bowl, combine the sourdough discard, warm water, and olive oil. Stir until the mixture looks slightly frothy, then sprinkle in the active dry yeast, sugar, and salt. Let it sit for 5 minutes; you’ll see a few bubbles forming, a sign that the yeast is waking up. This is the moment where patience truly pays off — I once skipped this rest and ended up with a dense crust that never rose properly.
💡 Pro Tip: Use water that’s just warm to the touch (about 105°F/40°C). Too hot and you’ll kill the yeast; too cold and the dough will lag. -
Gradually add the flour, one cup at a time, mixing with a wooden spoon until a shaggy dough forms. Turn the dough onto a lightly floured surface and knead for about 8–10 minutes, until it becomes smooth, elastic, and slightly tacky. You’ll know it’s ready when the dough springs back when you press it with a fingertip. If it feels too sticky, sprinkle a little more flour; if it’s too dry, add a splash of water.
-
Shape the dough into a ball, place it in a lightly oiled bowl, and cover with a damp kitchen towel. Let it rise in a warm spot for 45 minutes to 1 hour, or until it has roughly doubled in size. While the dough rises, you can prep the toppings: grill the chicken, blanch the broccoli, and slice the red peppers. The aroma of the rising dough will fill your kitchen, promising a golden crust.
⚠️ Common Mistake: Over‑proofing the dough can cause it to collapse during baking. Keep an eye on the size; once it’s about double, it’s ready. -
Preheat your oven to its highest setting, 500°F (260°C), and if you have a pizza stone, place it on the middle rack to heat for at least 30 minutes. While the oven heats, gently punch down the risen dough and divide it into two equal portions for two medium‑size pizzas. Roll each portion into a 12‑inch circle, leaving a slightly thicker edge for the crust. Here’s the thing: a thin center ensures the toppings stay crisp, while a puffier edge gives you that coveted “pizza‑rim” that’s soft inside and crisp outside.
💡 Pro Tip: If the dough resists stretching, let it rest for another 5 minutes; the gluten will relax and make it easier to shape. -
Transfer the rolled dough onto a parchment paper sheet (this makes the transfer to the stone painless). Spread a thin layer of tomato sauce, leaving a small border around the edge. Sprinkle a light dusting of garlic powder and oregano over the sauce, then scatter the shredded mozzarella evenly. The cheese should cover the sauce but still leave room for the toppings to shine.
-
Arrange the cooked chicken slices, blanched broccoli florets, and red pepper strips on top of the cheese. Drizzle a tiny drizzle of olive oil over the vegetables; this helps them caramelize and prevents them from drying out. If you love a little heat, sprinkle a pinch of crushed red pepper flakes now. The best part? The colors—golden cheese, vibrant green broccoli, and ruby‑red peppers—create a visual feast even before the first bite.
-
Slide the pizza (still on the parchment) onto the preheated stone or a baking sheet. Bake for 10–12 minutes, or until the crust is deep golden‑brown, the cheese is bubbling and turning a beautiful amber, and the edges have puffed up with a crisp whisper. Listen for that subtle crackle as the crust expands; it’s the sound of perfection. If you’re using a regular oven rack, rotate the pizza halfway through for even browning.
-
Remove the pizza from the oven and let it rest for 3–4 minutes. This short rest lets the cheese set just enough to slice cleanly while retaining that glorious stretch. Sprinkle a final pinch of fresh cracked black pepper and a drizzle of olive oil for shine. Go ahead, take a taste — you’ll know exactly when it’s right: the crust should be crisp on the bottom, slightly chewy inside, and the toppings should be hot, fragrant, and perfectly balanced.
And there you have it! But before you dig in, let me share some tips that will take this from great to absolutely unforgettable...
🔐 Expert Tips for Perfect Results
The Taste Test Trick
Before you slide the pizza into the oven, press a fingertip gently against the edge of the crust. If it feels firm yet gives a tiny bounce, the dough has developed enough gluten to hold the toppings without sagging. I once served a pizza with a floppy crust, and the whole family complained it was “soggy”. That simple test saves you from a disappointing dinner.
Why Resting Time Matters More Than You Think
After shaping the dough, give it a 10‑minute bench rest. This short pause allows the gluten strands to relax, making the dough easier to stretch and preventing tears. The extra rest also helps the sourdough flavors mellow, giving you a more balanced tang. Trust me on this one: the difference between a tight, uneven crust and a beautifully airy rim is that extra few minutes.
The Seasoning Secret Pros Won’t Tell You
A light sprinkle of flaky sea salt right after baking amplifies the flavors and adds a satisfying crunch on the crust’s edge. Professionals often finish their pizzas with a finishing salt because it brightens the taste without overpowering the sauce or cheese. I discovered this trick after watching a pizza chef on a cooking show, and now it’s a staple in my kitchen.
Balancing Moisture for a Crisp Crust
Too much sauce can make the crust soggy. I recommend using just enough sauce to coat the surface—about a half‑cup for a 12‑inch pizza. Pat the blanched broccoli with a paper towel to remove excess water before topping. This attention to moisture ensures that every bite has that coveted crunch you crave.
The Oven Hack for Maximum Heat
If you don’t have a pizza stone, flip a heavy baking sheet upside down and preheat it in the oven. The metal conducts heat like a stone, giving the bottom of the crust that perfect blistered look. I once used this hack on a cold winter night and still got a crust that was crisp enough to rival a pizzeria’s.
🌈 Delicious Variations to Try
One of my favorite things about this recipe is how versatile it is. Here are some twists I’ve tried and loved:
Mediterranean Dream
Swap the chicken for sliced kalamata olives and crumbled feta. Add a sprinkle of fresh oregano after baking. The salty olives and tangy feta complement the sourdough’s natural tang, creating a Mediterranean vibe that transports you to a sun‑kissed terrace.
Spicy Southwest
Replace the red bell pepper with fire‑roasted poblano strips, and add a drizzle of chipotle mayo after baking. Toss the chicken in a taco seasoning blend before topping. This version packs a smoky heat that pairs wonderfully with the crisp crust.
Cheesy Veggie Delight
Add sliced zucchini, thinly sliced red onion, and a handful of baby spinach. Use a blend of mozzarella and provolone for extra melt. The extra veggies boost nutrition while the cheese blend creates a richer, gooey texture.
Breakfast Pizza Twist
Swap the tomato sauce for a light spread of ricotta mixed with a pinch of garlic. Top with scrambled eggs, crumbled breakfast sausage, and a dash of hot sauce. This breakfast version turns the pizza into a hearty brunch centerpiece.
Sweet & Savory Harmony
Add thin slices of pear, a drizzle of honey, and a sprinkling of gorgonzola after baking. The sweet pear balances the sharp cheese, while the honey adds a glossy finish that glistens under the oven’s heat.
📦 Storage & Reheating Tips
Refrigerator Storage
Allow the pizza to cool completely, then slice and store the pieces in an airtight container. It will keep fresh for up to 3 days. To maintain the crust’s texture, place a sheet of parchment between layers to absorb any excess moisture.
Freezing Instructions
Wrap individual slices tightly in plastic wrap, then place them in a freezer‑safe zip‑top bag. The pizza freezes beautifully for up to 2 months. When you’re ready to enjoy, let the slices thaw in the refrigerator for an hour before reheating.
Reheating Methods
For the crispiest crust, reheat slices in a preheated skillet over medium heat for 2–3 minutes, covering the pan briefly to melt the cheese. Alternatively, a quick 5‑minute blast in a 425°F (220°C) oven restores the original texture. The trick to reheating without drying it out? A splash of water in the pan (just a few drops) creates steam that keeps the toppings moist while the crust crisps.