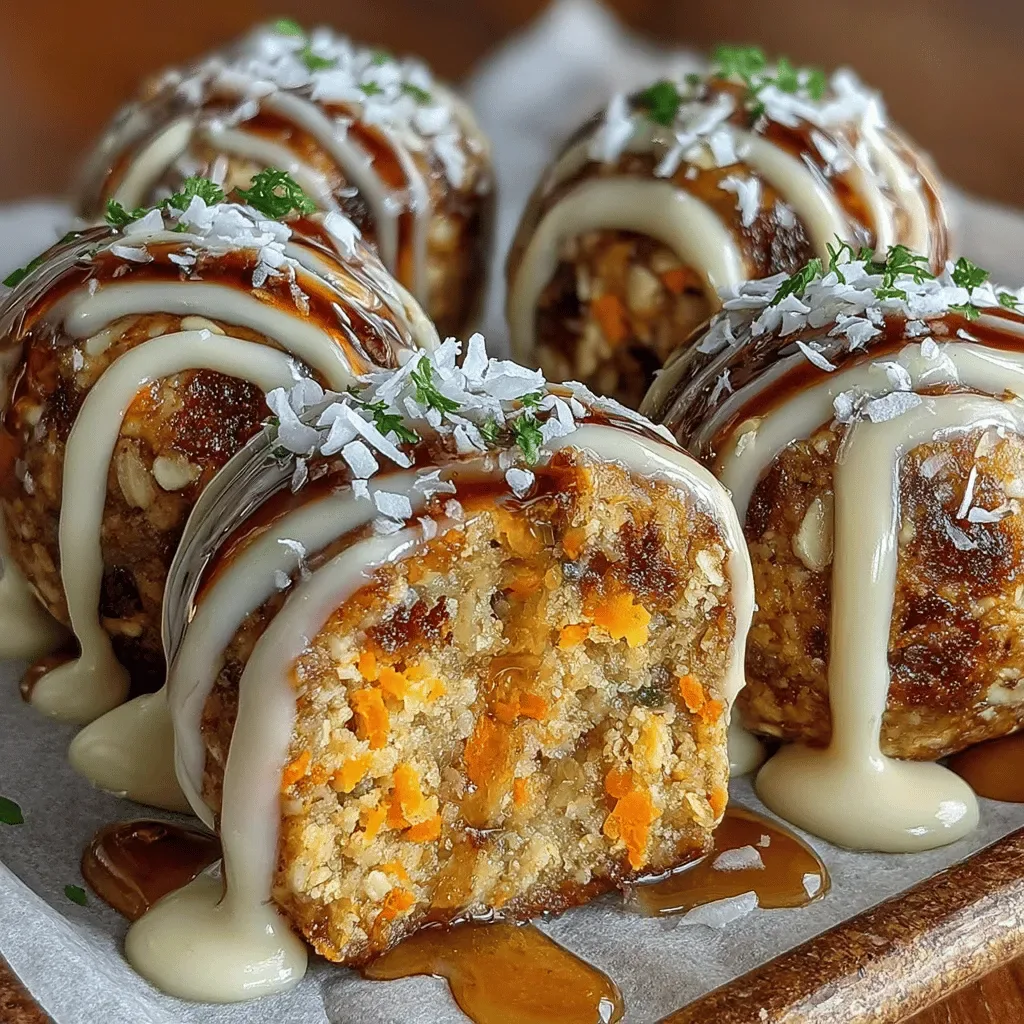
It was a chilly Saturday morning in late February, the kind of day when the kitchen feels like the warmest room in the house. I was standing over a pot of simmering milk chocolate, the steam curling up like tiny ribbons of caramel, when my niece burst through the door with a grin that could melt even the hardest candy shell. “Can we make those peanut‑butter eggs that look like little Easter treasures?” she asked, eyes wide with anticipation. I laughed, remembering the first time I tried to recreate the iconic Reese’s Eggs at home – a messy, glorious experiment that left the entire family licking the spoon and begging for more.
The moment you lift the lid off the chocolate, a cloud of rich, nutty aroma hits you, instantly transporting you back to childhood birthday parties and candy‑filled holiday bowls. The silky sheen of the chocolate coating, the soft, melt‑in‑your‑mouth peanut‑butter center, and the glossy, slightly crunchy exterior create a symphony of textures that dance on the palate. What makes these Homemade Reese’s Eggs stand out isn’t just the flavor; it’s the love you pour into each step, the way the butter and shortening melt together in perfect harmony, and the tiny ritual of shaping each egg just right. Imagine the satisfaction of watching your family bite into a perfect bite of salty‑sweet bliss, the kind that makes you want to pause the world for a second.
But wait – there’s a secret trick in step 4 that turns a good batch into an unforgettable one, and I’m not going to give it away just yet. Have you ever wondered why store‑bought versions sometimes feel a little flat compared to the ones you make at home? The answer lies in a few simple ingredient swaps and a little patience, both of which I’ll reveal as we walk through the process. Trust me, the little details we’ll cover later will make the difference between “nice” and “absolutely addictive.”
Here’s exactly how to make it — and trust me, your family will be asking for seconds, thirds, and maybe even a whole dozen. Grab your favorite mixing bowl, preheat your oven (yes, you’ll need a brief bake for the peanut‑butter core), and get ready for a culinary adventure that feels like a holiday tradition in the making. The journey from raw ingredients to glossy, bite‑size delights is as fun as it is flavorful, and I’m thrilled to share every tip, trick, and tiny anecdote along the way. So, let’s dive in and create some magic together.
🌟 Why This Recipe Works
- Flavor Depth: By using creamy peanut butter instead of a processed spread, you get a richer, more natural nutty flavor that sings when paired with sweet chocolate. The butter and shortening create a smooth, velvety interior that melts perfectly on the tongue.
- Texture Balance: The powdered sugar adds just enough sweetness without making the filling gritty, while the melted butter keeps the core soft yet firm enough to hold its shape when dipped.
- Ease of Execution: All steps require only basic kitchen tools – a saucepan, a spatula, and a silicone mold or a simple spoon. No fancy equipment, just good old-fashioned patience and a love for candy.
- Time Efficiency: With a total time of under an hour, you can whip up a batch in the time it takes to watch a short episode of your favorite show, making it perfect for spontaneous cravings or planned celebrations.
- Versatility: The base recipe is a canvas; you can swap milk chocolate for dark or white, add a pinch of sea salt, or even drizzle caramel on top for a gourmet twist.
- Nutrition Awareness: While still a treat, the use of real peanut butter provides protein and healthy fats, making these eggs a slightly smarter indulgence compared to mass‑produced candy.
- Ingredient Quality: The recipe calls for high‑quality butter and premium chocolate chips, ensuring every bite feels luxurious rather than artificial.
- Crowd‑Pleasing Factor: Whether it’s a family movie night, a holiday party, or a simple after‑dinner treat, these eggs have a universal appeal that wins over kids and adults alike.
🥗 Ingredients Breakdown
The Foundation: Sweet & Silky
The first cornerstone of our Reese’s Eggs is the powdered sugar. This fine, snow‑like sugar dissolves effortlessly into the warm butter and peanut butter, creating a smooth, velvety base that avoids any gritty texture. When measuring, sift the sugar to break up any lumps; this tiny step guarantees a uniformly sweet interior. If you’re looking for a lower‑glycemic option, you can experiment with a blend of coconut sugar and erythritol, but the classic powdered sugar gives that melt‑in‑your‑mouth feel we all love.
Next up, the creamy peanut butter. I always reach for a natural, no‑added‑sugar variety because it lets the peanut flavor shine without unnecessary sweetness. The fats in peanut butter provide a buttery richness that pairs perfectly with the chocolate, and they also help the filling set once chilled. If you have a peanut allergy, try almond butter or cashew butter – the flavor shifts but the texture remains delightful.
Binding Magic: Butter & Shortening
Butter (or margarine) is melted and mixed in to give the filling a luxurious mouthfeel. The dairy fat coats the peanut particles, preventing any grainy sensation and ensuring the mixture stays pliable even after cooling. Shortening, on the other hand, adds stability; it raises the melting point just enough so the eggs hold their shape when dipped in warm chocolate. Using a combination of both gives you a perfect balance of softness and firmness.
A splash of milk might seem trivial, but it’s the secret that prevents the mixture from becoming too dense. The two tablespoons of milk loosen the batter just enough for easy scooping, and the dairy notes complement the peanut butter’s earthiness. If you’re dairy‑free, substitute with oat milk or almond milk – the texture will stay just as creamy.
The Secret Weapons: Chocolate & Chips
Milk chocolate chips are the star of the outer shell. Their sweet, creamy profile balances the salty peanut butter, creating that iconic Reese’s flavor. I recommend using high‑quality chips that contain at least 30% cocoa butter; this ensures a smooth melt and a glossy finish. If you crave a deeper chocolate flavor, swap half the milk chips for dark chocolate chips – the contrast is divine.
While the recipe calls for 1‑2 bags of chips, the exact amount depends on how thick you like your coating. A generous dip will give you a thick, satisfying shell, while a light drizzle offers a more delicate bite. Remember, the chocolate should be just warm enough to flow but not so hot that it burns the peanut butter core. A quick tip: use a double boiler or a microwave in 20‑second bursts, stirring in between, to keep the temperature under control.
Finishing Touches: Salt & Optional Extras
A pinch of flaky sea salt sprinkled over the finished eggs elevates the flavor, creating that magical sweet‑salty contrast that makes Reese’s Eggs so addictive. You can also drizzle a thin stream of caramel or sprinkle crushed pretzels for an extra crunch. These optional touches are perfect for impressing guests or adding a personal signature to your candy.
With your ingredients prepped and ready, let's get cooking. Here's where the fun really begins...

🍳 Step-by-Step Instructions
Start by melting the butter (or margarine) in a medium saucepan over low heat. As the butter liquefies, you’ll hear a gentle sizzle that signals it’s ready for the next ingredient. Add the creamy peanut butter, stirring constantly until the mixture becomes a uniform, glossy blend. The aroma at this point is intoxicating – a warm, nutty scent that fills the kitchen and makes you want to taste it right away. Once fully combined, remove the pan from heat and let it cool for a minute.
Gradually whisk in the powdered sugar, a cup at a time, until the mixture is smooth and thick. You’ll notice the texture shift from runny to pliable, almost like play‑dough that can be rolled into balls. Add the milk and shortening, continuing to whisk until the batter is glossy and slightly softer than before. This is the moment where the mixture should be easy to scoop with a spoon but still hold its shape when rolled.
Cover the bowl with plastic wrap and refrigerate the mixture for at least 20 minutes. This chilling step firms up the filling, making it easier to shape without sticking to your hands. While you wait, set up a double boiler for the chocolate: fill a saucepan with a couple of inches of water, bring it to a gentle simmer, and place a heat‑proof bowl on top, ensuring the bowl doesn’t touch the water.
While the filling chills, melt the milk chocolate chips in the double boiler, stirring until completely smooth. The chocolate should be a deep, velvety brown with a faint sheen; if you see any specks, keep stirring until they dissolve. Once melted, remove the bowl from heat and let it cool slightly – you want it warm enough to coat but not so hot that it melts the peanut butter core.
Take the chilled peanut‑butter mixture out of the fridge and, using a small ice‑cream scoop or a teaspoon, portion out bite‑size balls (about 1‑inch diameter). Roll each ball between your palms to form a smooth sphere; the heat from your hands will slightly soften the mixture, making it pliable. If the mixture sticks, lightly dust your hands with powdered sugar – this prevents any unwanted graininess on the surface.
Now for the fun part: dip each peanut‑butter ball into the warm chocolate, using a fork or a small dipping tool to turn it, ensuring an even coat. As the chocolate envelops the ball, you’ll hear a soft “whoosh” as it slides over the surface, creating a glossy shell. Gently tap the fork against the side of the bowl to let excess chocolate drip off, then place the coated egg onto a parchment‑lined tray. If you’d like a thicker shell, dip the egg a second time after the first coat has set for about 30 seconds.
Allow the chocolate‑coated eggs to set at room temperature for 10‑15 minutes, or place them in the refrigerator for a quicker set. You’ll see the chocolate harden to a beautiful matte finish, and the scent of chocolate will mingle with the lingering peanut butter notes, creating an irresistible perfume. Once fully set, transfer the eggs to an airtight container, and they’re ready to be served. Go ahead, take a taste — you’ll know exactly when it’s right.
And there you have it! But before you dig in, let me share some tips that will take this from great to absolutely unforgettable. From resting times to plating ideas, the final section will give you the finishing touches that turn a simple candy into a show‑stopping dessert.
🔐 Expert Tips for Perfect Results
The Taste Test Trick
Before you commit to a full batch, make a single test egg. This mini‑experiment lets you gauge the balance of sweetness and salt, and adjust the amount of powdered sugar or sea salt accordingly. I once made a test egg and realized I needed just a pinch more salt – the difference was night and day. Trust me on this one: a small tweak early on saves you from a batch that’s too sweet.
Why Resting Time Matters More Than You Think
Allowing the peanut‑butter mixture to chill is not just about firmness; it also lets the flavors meld together. The butter, shortening, and peanut butter develop a deeper, more cohesive taste after resting, similar to how a stew improves after simmering. Skipping this step often results in a grainy texture that feels off‑center on the palate. So set a timer, grab a cup of tea, and let the mixture do its magic.
The Seasoning Secret Pros Won’t Tell You
A dash of smoked paprika or a sprinkle of espresso powder in the chocolate coating can add an unexpected depth that elevates the entire experience. I discovered this secret during a dinner party when a guest asked for something “different.” The subtle smoky note paired perfectly with the sweet chocolate, creating a sophisticated flavor profile that impressed everyone. Don’t be afraid to experiment – a little goes a long way.
Temperature Control is Key
When melting chocolate, keep the heat low and stir constantly. Over‑heating can cause cocoa butter to separate, leading to a dull, streaky coating. I once rushed this step and ended up with a patchy shell that looked like a failed art project. Patience here pays off – a smooth, shiny shell is worth the extra minute of gentle heat.
Presentation Matters
Arrange the finished eggs on a decorative platter, perhaps with a few fresh berries or a drizzle of caramel for visual contrast. Adding a sprinkle of edible gold dust can turn a simple snack into a holiday centerpiece. The way you present these treats can make them feel like a gourmet offering rather than just candy. Remember, we eat with our eyes first.
Storage Secrets for Longevity
Store the eggs in a single layer inside an airtight container, separating layers with parchment paper to prevent them from sticking together. This simple technique keeps each egg pristine, maintaining that perfect glossy finish for up to a week. If you need to keep them longer, a quick freeze (which we’ll cover later) locks in freshness without sacrificing texture. The result? You’ll have a stash ready for any impromptu gathering.
🌈 Delicious Variations to Try
One of my favorite things about this recipe is how versatile it is. Here are some twists I've tried and loved:
Dark Chocolate Delight
Swap the milk chocolate chips for dark chocolate (70% cocoa). The richer cocoa flavor creates a sophisticated contrast to the sweet peanut butter, perfect for adult gatherings or a refined dessert plate. Expect a slightly bitter edge that balances the overall sweetness.
White Chocolate Coconut Crunch
Use white chocolate chips and roll the finished eggs in toasted coconut flakes before the chocolate sets. The tropical aroma adds a fresh twist, and the coconut’s crunch complements the creamy interior. This version shines at summer barbecues or beach picnics.
Spicy Chili Peanut
Add a pinch of cayenne pepper to the peanut‑butter mixture and coat the eggs in dark chocolate. The subtle heat awakens the palate, making each bite a thrilling experience. It’s a great conversation starter at game nights.
Caramel Swirl
Before dipping the peanut‑butter balls in chocolate, swirl a thin line of caramel sauce around the middle of each ball. When the chocolate sets, you’ll see a beautiful marble effect, and the caramel adds a buttery richness that pairs beautifully with the nutty core.
Nutty Nut Mix
Mix finely chopped roasted almonds or hazelnuts into the peanut‑butter filling for added crunch. The extra nutty texture creates a delightful surprise when you bite into the egg, and it adds a layer of complexity that makes the treat feel more indulgent.
📦 Storage & Reheating Tips
Refrigerator Storage
Place the eggs in an airtight container lined with parchment paper. Store them in the fridge for up to 7 days. The cool environment keeps the chocolate firm and prevents the peanut butter from becoming too soft. If you notice any condensation, simply pat the surface dry with a paper towel before resealing.
Freezing Instructions
For longer storage, arrange the eggs on a baking sheet and flash‑freeze for 30 minutes. Then transfer them to a zip‑top freezer bag, removing as much air as possible. Frozen eggs maintain quality for up to 3 months. When you’re ready to enjoy them, move them to the fridge to thaw gradually – this prevents the chocolate from cracking.
Reheating Methods
To enjoy a warm, melty version, place a few eggs on a microwave‑safe plate and heat for 10‑15 seconds on medium power. Alternatively, a quick 5‑minute stint in a 300°F (150°C) oven revives the softness without melting the chocolate fully. The trick to reheating without drying it out? A splash of milk or a drizzle of melted butter over the top before warming adds moisture and shine.