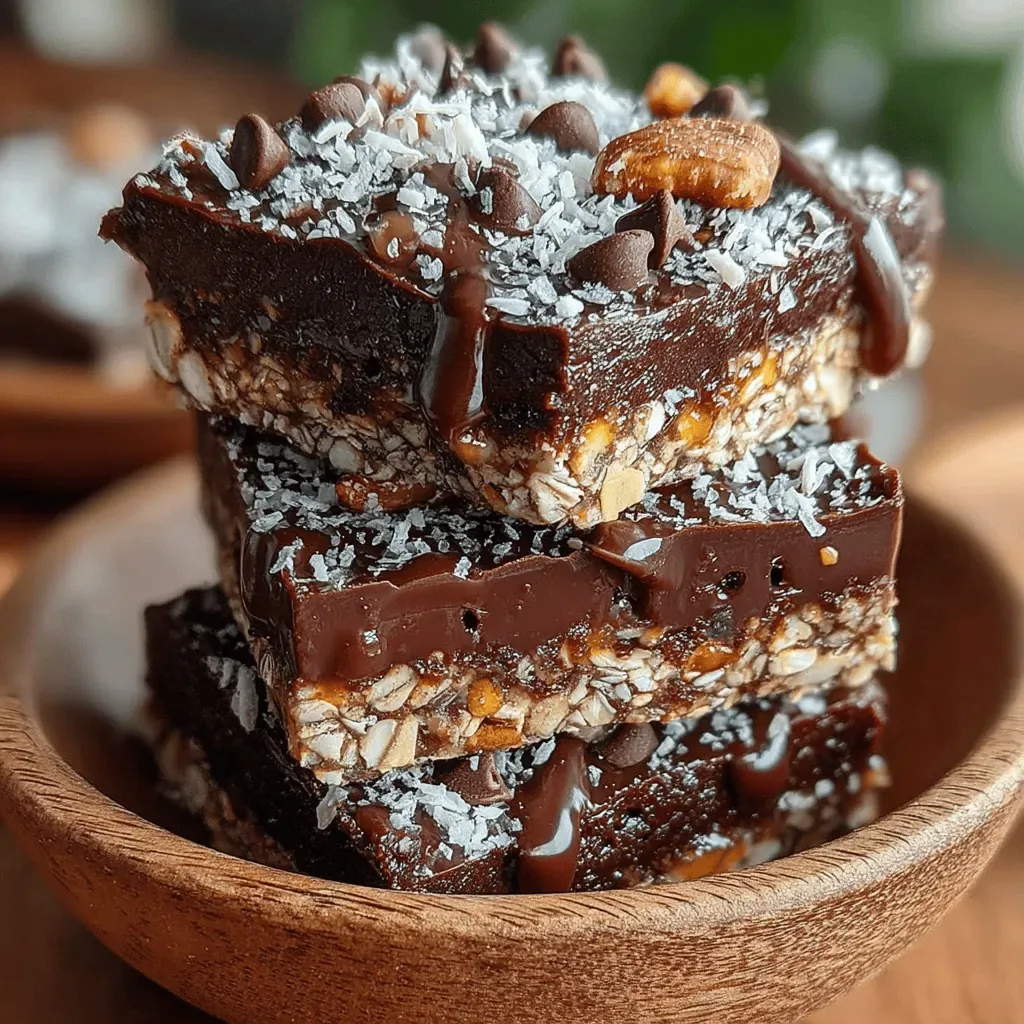
Imagine biting into a bar that’s rich, fudgy, and perfectly chewy without ever turning on the oven. These Decadent No‑Bake Chocolate Oat Bars deliver that indulgent experience in minutes, making them the ultimate treat for lazy mornings or impromptu brunches.
What sets this recipe apart is the harmony of wholesome rolled oats, silky dark chocolate, and a hint of natural sweetness, all bound together by creamy nut butter. The result is a bar that feels luxurious yet stays grounded in wholesome ingredients.
Busy parents, brunch enthusiasts, and anyone craving a quick, satisfying snack will adore these bars. Serve them at a weekend brunch buffet, as a grab‑and‑go breakfast, or as an after‑dinner sweet that doesn’t require a hot kitchen.
The process is straightforward: toast the oats, melt the chocolate‑nut butter mixture, combine, press into a pan, and let it set. No baking, no fuss—just pure, chocolatey comfort.
Why You'll Love This Recipe
Zero‑Bake Simplicity: The entire recipe comes together on the stovetop and a fridge, eliminating heat‑generated mess while still delivering a bakery‑level texture and flavor.
Wholesome Energy Boost: Rolled oats provide sustained carbs, while almond butter adds protein and healthy fats, making each bar a balanced mini‑meal.
Customizable Sweetness: Using natural sweeteners like honey or maple syrup lets you control sugar levels, and you can swap them for low‑calorie alternatives without sacrificing taste.
Make‑Ahead Friendly: Once set, the bars keep beautifully in the fridge for days, so you can prep a batch on Sunday and enjoy them all week long.
Ingredients
The backbone of these bars is a trio of textures: chewy oats, smooth chocolate, and a buttery binding that holds everything together. Dark chocolate supplies depth and antioxidants, while almond butter contributes richness and a subtle nutty aroma. A splash of vanilla and a pinch of sea salt elevate the flavor, and optional mix‑ins add personality without compromising the bar’s structure.
Base
- 2 cups rolled oats
- ½ cup chopped toasted almonds
Chocolate‑Nut Butter Mixture
- 1 cup dark chocolate chips (70% cacao)
- ½ cup creamy almond butter
- ¼ cup honey or maple syrup
Seasonings & Optional Add‑Ins
- 1 teaspoon pure vanilla extract
- ¼ teaspoon sea salt (plus a pinch for topping)
- ¼ cup dried cranberries or chopped dried apricots (optional)
These ingredients work in concert to create a bar that’s both indulgent and nutritious. The oats absorb the glossy chocolate‑nut butter, giving the bar a cohesive bite, while the almonds add crunch. Sweeteners balance the bittersweet chocolate, and the vanilla‑salt duo brightens every mouthful. Optional dried fruit introduces a pop of tartness that contrasts beautifully with the deep chocolate flavor.
Step-by-Step Instructions
Preparing the Oats and Nuts
Begin by spreading the rolled oats and chopped almonds on a rimmed baking sheet. Toast them in a preheated 350°F (175°C) oven for 8‑10 minutes, stirring halfway, until they turn a light golden brown and emit a nutty aroma. Toasting amplifies their flavor and gives the final bar a subtle crunch.
Melting the Chocolate‑Nut Butter
While the oats toast, set a medium saucepan over low heat. Add the dark chocolate chips, almond butter, and honey (or maple syrup). Stir constantly with a silicone spatula until the mixture becomes a glossy, homogeneous sauce—about 4‑5 minutes. Remove from heat and whisk in vanilla extract, sea salt, and any optional dried fruit. This step creates a silky binder that will coat the oats evenly.
Combining Everything
- Mix the base. Transfer the toasted oats and almonds into a large mixing bowl. Pour the warm chocolate‑nut butter over the dry ingredients, then fold gently with a spatula until every oat is fully coated. The warmth of the sauce helps the oats absorb the flavors, ensuring a uniform texture.
- Press into the pan. Line an 8‑inch square baking pan with parchment paper, leaving an overhang for easy removal. Transfer the mixture into the pan, spreading it evenly. Using the back of a spoon or a piece of parchment, press firmly for about 30 seconds—this compacts the bars and prevents crumbling later.
- Set the bars. Sprinkle a pinch of sea salt over the top for a subtle contrast. Place the pan in the refrigerator for at least 10 minutes, or until the chocolate hardens and the bars are firm enough to slice. Chilling solidifies the binding agents, giving each bar a clean cut.
- Slice and serve. Lift the set slab out of the pan using the parchment overhang. Place it on a cutting board and slice into 12 even bars with a sharp knife. Wipe the blade between cuts for clean edges. Serve immediately or store as described below.
Tips & Tricks
Perfecting the Recipe
Toast just right. Keep a close eye on the oats; over‑toasting can make them bitter, while under‑toasting leaves a raw flavor. Light golden is the sweet spot.
Use a low‑heat melt. Melt chocolate over low heat or a double boiler to avoid scorching, which would introduce a burnt taste and grainy texture.
Press firmly. Compact the mixture with a flat surface; this prevents the bars from falling apart when sliced.
Cool before cutting. Allow the bars to chill fully—at least 10 minutes—so the chocolate sets and the slices stay clean.
Flavor Enhancements
Add a teaspoon of espresso powder to the chocolate mixture for a mocha twist, or swirl in a tablespoon of almond or peanut butter for extra depth. A drizzle of caramel or a sprinkle of toasted coconut just before chilling adds texture and visual appeal.
Common Mistakes to Avoid
Avoid using low‑fat chocolate; it can become too brittle when cooled. Also, don’t skip the refrigeration step—trying to cut the bars while the chocolate is still soft will cause them to crumble and lose their elegant shape.
Pro Tips
Seasonal fruit add‑ins. Dried cherries, goji berries, or even freeze‑dried blueberries introduce a burst of tartness that balances the richness.
Layered texture. Sprinkle a thin layer of crushed pretzels or puffed quinoa on top before chilling for an unexpected crunchy surprise.
Portion control. Use a kitchen scale to weigh each bar after cutting; this ensures consistent serving sizes for nutrition tracking.
Storage hack. Place a sheet of parchment between layers if you stack bars in a container; this prevents them from sticking together.
Variations
Ingredient Swaps
Swap almond butter for cashew or peanut butter for a different nutty profile. Use white chocolate chips with a splash of orange zest for a citrusy twist, or replace rolled oats with puffed quinoa for a lighter bite. Dried fruit can be exchanged for chopped nuts like pistachios or hazelnuts for added crunch.
Dietary Adjustments
For a vegan version, use a plant‑based chocolate (dairy‑free) and replace honey with agave or maple syrup. Gluten‑free eaters can be confident—the recipe uses certified gluten‑free oats. To keep it low‑carb, substitute oats with shredded coconut and use a sugar‑free chocolate sweetened with erythritol.
Serving Suggestions
Serve bars alongside a dollop of Greek yogurt and fresh berries for a balanced breakfast. Pair them with a cold brew coffee for a brunch spread, or crumble over vanilla ice cream for an indulgent dessert. A drizzle of almond milk or a splash of espresso can transform them into a quick snack‑drink combo.
Storage Info
Leftover Storage
Allow the bars to cool completely, then transfer them to an airtight container lined with parchment. Store in the refrigerator for up to 5 days. For longer keeping, wrap individual bars in plastic wrap and freeze; they retain flavor and texture for up to 3 months.
Reheating Instructions
To enjoy a warm bar, place it on a microwave‑safe plate, cover loosely with a damp paper towel, and heat on medium power for 20‑30 seconds. Alternatively, warm the entire slab in a 300°F (150°C) oven for 5‑7 minutes; this revives the chocolate’s gloss without drying the interior.
Frequently Asked Questions
These Decadent No‑Bake Chocolate Oat Bars bring together wholesome oats, rich chocolate, and creamy almond butter in a quick, mess‑free package. By following the detailed steps, storage tips, and creative variations, you’ll have a versatile treat that fits any breakfast or brunch setting. Feel free to experiment with nuts, fruits, or spices—making the recipe truly yours. Enjoy the indulgence without the oven, and share the joy with family and friends!