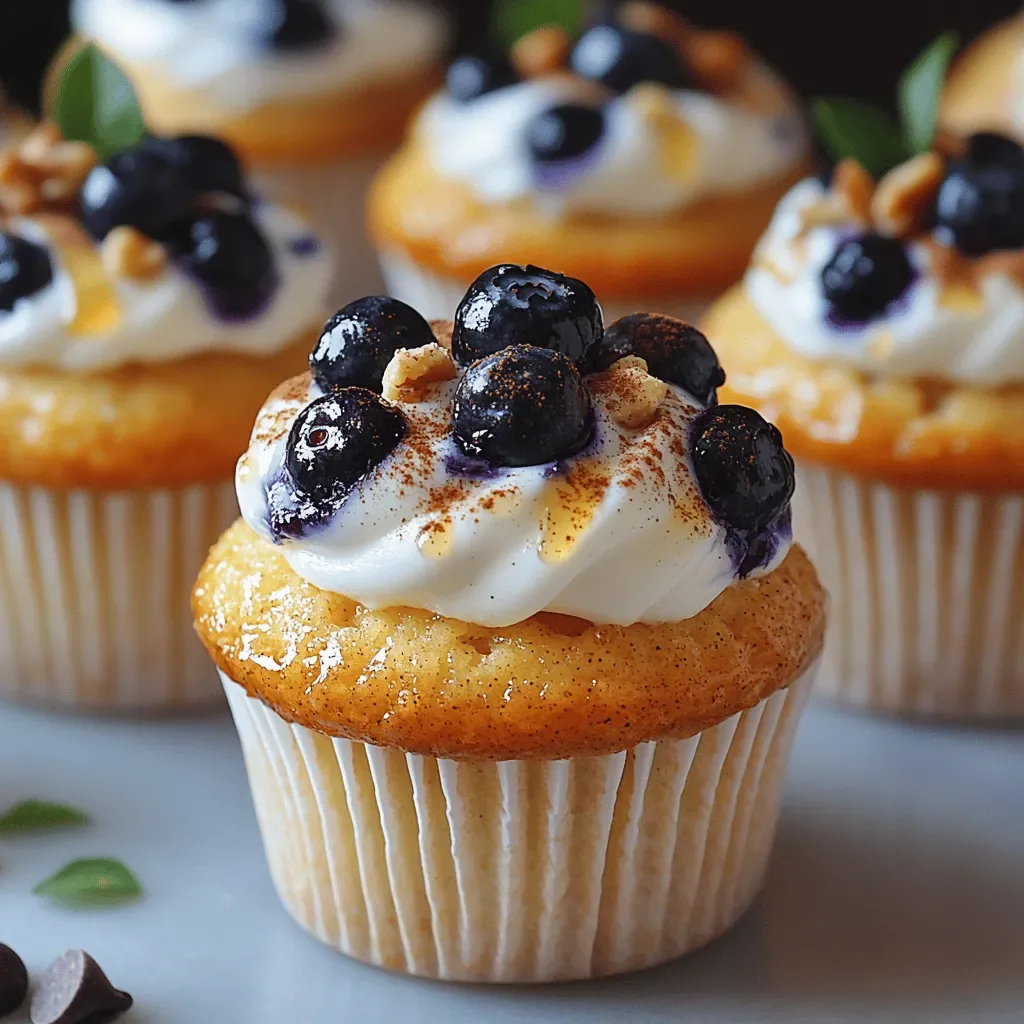
It was a humid Saturday afternoon in July, the kind of day when the kitchen feels like a sanctuary from the sweltering heat outside. I was flipping through an old family photo album, and there it was—my grandmother’s hand‑tied apron, a well‑worn wooden spoon, and a faint, caramel‑sweet memory of a cake that seemed to glow from the inside out. The moment you lift the lid off the pan, a cloud of fragrant steam hits you, carrying notes of butter, caramelized brown sugar, and the bright, sunny perfume of pineapple. That scent instantly transports you to a backyard brunch where the sun dapples through the trees and laughter bubbles over the clink of glasses.
I remember the first time I tried to recreate that classic pineapple upside‑down cake on my own. The batter was a little too dense, the caramel topping a tad too runny, and the cherries were scattered haphazardly, looking more like a garnish afterthought than the crowning jewels they should be. Yet, the joy of watching the pineapple rings soften and the butter‑brown sugar mixture turn into a glossy, amber glaze was undeniable. Have you ever wondered why restaurant versions taste so different? The secret lies not just in the ingredients but in the careful layering, the timing, and a few tricks that most home cooks overlook. Trust me, once you master those, the cake becomes a show‑stopper every single time.
What makes this recipe truly special is its balance of textures and flavors: the tender, buttery crumb beneath a glossy, caramelized fruit topping that’s both tangy and sweet. Imagine cutting into a slice and hearing that gentle sigh as the caramel gives way to a moist, fluffy interior, while the pineapple’s natural acidity cuts through the richness, leaving a clean finish on the palate. The maraschino cherries add a pop of color and a hint of tartness that brightens every bite. And because the recipe is forgiving enough for beginners yet sophisticated enough for seasoned bakers, it fits perfectly into any occasion—whether it’s a casual family dinner or a holiday brunch.
But wait—there’s a secret trick in step four that will take your caramel from good to unforgettable, and I’ll reveal it later in the instructions. Here’s the thing: the way you handle the pineapple juice can completely change the texture of the cake’s crumb, making it either airy or heavy. The best part? You don’t need any exotic gadgets, just a few everyday pantry staples and a pinch of patience. So grab your mixing bowls, preheat that oven, and get ready to dive into a culinary adventure that will have your family asking for seconds. Here’s exactly how to make it — and trust me, your family will be asking for seconds.
🌟 Why This Recipe Works
- Flavor Depth: The caramelized brown sugar melds with the pineapple’s natural acidity, creating a sweet‑tart harmony that dances on the tongue. Each bite delivers layers of buttery richness followed by a bright, fruity finish, keeping the palate engaged from start to finish.
- Texture Contrast: A soft, airy crumb sits beneath a glossy, slightly crisp fruit topping. The contrast between the melt‑in‑your‑mouth cake and the caramelized edges of the pineapple slices adds a delightful mouthfeel that feels both comforting and sophisticated.
- Ease of Execution: Despite its elegant appearance, the recipe uses straightforward techniques—no fancy piping, no special equipment. Even a novice baker can follow the steps and achieve a professional‑looking result.
- Time Efficiency: With a total time of about 45 minutes, you get a dessert that feels special without spending the whole day in the kitchen. The preparation is quick, and the baking time is just enough to develop those deep caramel notes.
- Versatility: The base cake can be adapted with different fruits, spices, or even a drizzle of rum for a tropical twist. It’s a canvas that welcomes creativity while staying true to its classic roots.
- Ingredient Quality: Using real pineapple slices in juice, not canned in syrup, ensures a natural sweetness and a brighter flavor profile. The salted butter adds a subtle savory note that balances the overall sweetness.
- Crowd‑Pleasing Factor: The visual appeal of the caramel‑glazed pineapple rings and cherry “eyes” makes it a centerpiece that draws compliments before the first fork even touches the plate.
🥗 Ingredients Breakdown
The Foundation: Flour & Leavening
All‑purpose flour provides the structural backbone of the cake, creating a tender crumb that absorbs the moisture from the pineapple juice without becoming soggy. The 3 teaspoons of baking powder act as the silent hero, giving the batter a gentle lift that results in a light, airy texture. If you’re looking for a gluten‑free alternative, a blend of rice flour and tapioca starch works well, though you may need a touch more baking powder to achieve the same rise.
The Sweet Bed: Butter & Sugars
Four tablespoons of salted butter melt into the caramel topping, delivering a rich, buttery base that caramelizes beautifully with the brown sugar. The brown sugar itself carries molasses notes that deepen the flavor, while the ¾ cup of granulated sugar sweetens the batter without overwhelming the pineapple’s natural tartness. If you prefer a less caramelized topping, you can substitute half of the brown sugar with light brown sugar for a milder flavor.
The Secret Weapons: Pineapple & Juice
The star of the show is the canned pineapple slices in juice. Draining them preserves the fruit’s shape while reserving the juice adds moisture to the batter, ensuring the cake stays moist and fragrant. I always recommend using the juice rather than the syrup; the latter is too sweet and can make the cake gummy. For an extra tropical twist, add a splash of dark rum to the reserved juice before mixing it into the batter.
Finishing Touches: Eggs, Milk & Vanilla
The two large eggs act as a binding agent, providing structure while also contributing to the cake’s rise. Evaporated milk adds a creamy richness without the heaviness of whole milk, giving the crumb a velvety texture. A teaspoon of vanilla extract rounds out the flavor profile, adding a subtle warmth that complements both the caramel and the pineapple.
When selecting your ingredients, opt for unsalted butter if you’re watching sodium, but remember to add a pinch of extra salt to the batter to maintain balance. Choose a high‑quality canned pineapple—look for brands that pack the fruit in its own juice rather than syrup for the most authentic taste. And finally, always bring your butter and eggs to room temperature before mixing; this ensures a smoother batter and a more even bake. With your ingredients prepped and ready, let's get cooking. Here's where the fun really begins...

🍳 Step-by-Step Instructions
Preheat your oven to 350°F (175°C) and place a 9‑inch round cake pan on a baking sheet. This prevents the pan from overheating and ensures even heat distribution. While the oven warms, melt the 4 tablespoons of salted butter in a small saucepan over medium heat until it foams, then add the brown sugar, stirring constantly until the mixture bubbles and turns a deep amber color. The aroma at this stage is intoxicating—think caramel popcorn meets tropical fruit. Pro Tip: Keep a close eye on the sugar; it can go from perfect to burnt in seconds.
Arrange the drained pineapple slices in a single, overlapping layer at the bottom of the prepared pan. Place a maraschino cherry in the center of each pineapple ring, creating a cheerful pattern that will become the “face” of the cake. Pour the caramel mixture evenly over the fruit, making sure each slice gets a glossy coating. The caramel will start to sizzle as it meets the pineapple, creating a gentle bubbling sound that signals it’s ready for the next step.
In a large mixing bowl, whisk together the softened 8 tablespoons of salted butter and the granulated sugar until the mixture is light and fluffy, about 2‑3 minutes. This aeration step is crucial; it traps air that will expand during baking, giving the cake its lift. Add the eggs one at a time, beating well after each addition to prevent curdling. Then stir in the vanilla extract, followed by the reserved pineapple juice and evaporated milk, mixing until just combined. The batter should have a silky, slightly thick consistency—if it looks too runny, sprinkle in a tablespoon of flour.
Sift the 2 cups of all‑purpose flour, 3 teaspoons of baking powder, and ¼ teaspoon of salt together, then gently fold the dry ingredients into the wet batter using a rubber spatula. This folding motion preserves the air you incorporated earlier, preventing a dense cake. As you fold, you’ll notice the batter turning a pale yellow, speckled with tiny flecks of butter—this is a good sign that the texture will be tender. Common Mistake: Over‑mixing at this stage can develop gluten, leading to a tough crumb.
Pour the batter over the caramel‑topped pineapple, spreading it gently with the spatula to ensure an even layer. You’ll see the batter slowly seep into the gaps, creating a beautiful marbled effect as the caramel rises to the surface. Tap the pan lightly on the counter three times to release any large air bubbles that may have formed. This step is often overlooked, but those tiny bubbles can become large pockets that affect the cake’s uniformity.
Place the pan in the preheated oven and bake for 30‑35 minutes, or until a toothpick inserted into the center comes out clean and the top is a golden‑brown hue. Around the 20‑minute mark, you’ll notice the caramel bubbling around the edges, a visual cue that the sugars are caramelizing perfectly. If the top starts to darken too quickly, loosely cover it with aluminum foil to prevent burning while the interior finishes cooking.
Once baked, remove the cake from the oven and let it rest in the pan for 5 minutes. This short resting period allows the caramel to thicken just enough to cling to the fruit without running off. After five minutes, run a thin knife around the edge of the pan to loosen any stuck bits, then invert the cake onto a serving platter. The caramel will cascade over the pineapple, creating a glossy, mirror‑like finish that looks as good as it tastes.
Allow the cake to cool for at least 15 minutes before slicing. This cooling time lets the flavors meld and the caramel set, preventing it from sliding off the slices. Serve warm with a dollop of whipped cream or a scoop of vanilla ice cream for an extra indulgent touch. And there you have it! But before you dig in, let me share some tips that will take this from great to absolutely unforgettable...
🔐 Expert Tips for Perfect Results
The Taste Test Trick
Before you pour the batter over the fruit, take a tiny spoonful and taste it. If it feels a bit flat, add a pinch more salt or a splash of pineapple juice. This simple test ensures the batter has the right balance of sweetness and acidity, preventing a one‑dimensional flavor. I once served a batch that was too sweet, and a friend suggested a pinch of sea salt—instant transformation!
Why Resting Time Matters More Than You Think
Allowing the batter to sit for 10 minutes after mixing lets the flour fully hydrate, resulting in a more tender crumb. The gluten relaxes, and the baking powder gets a chance to start its chemical reaction, which helps the cake rise evenly. I’ve seen cakes that were rushed straight into the oven turn out dense and heavy; a short rest makes all the difference.
The Seasoning Secret Pros Won’t Tell You
A tiny dash of ground ginger or a pinch of cinnamon in the batter adds a warm undertone that complements the pineapple’s brightness. Professional bakers often keep this in their back‑of‑house spice rack, but home cooks forget it. Try it once and you’ll notice the subtle spice lifts the entire flavor profile without overpowering the fruit.
The Oven Position Play
Place the cake pan on the middle rack of the oven. This ensures even heat circulation, preventing the bottom from over‑browning while the top stays pale. If you’re using a convection oven, reduce the temperature by 25°F (about 15°C) to avoid drying out the delicate crumb.
The Cherry Placement Strategy
When positioning the maraschino cherries, think of them as the eyes of a smiling face. Not only does this make the cake visually appealing, but it also distributes the sweet tartness evenly across each slice. I once tried random placement and ended up with a few slices lacking that pop of cherry flavor.
Cooling Without Losing Moisture
If you need to cool the cake completely before serving, loosely cover it with a clean kitchen towel. This prevents the surface from forming a crust while allowing steam to escape, keeping the interior moist. A common mistake is to wrap it tightly while still warm, which traps steam and makes the caramel soggy.
🌈 Delicious Variations to Try
One of my favorite things about this recipe is how versatile it is. Here are some twists I've tried and loved:
Tropical Coconut Breeze
Swap half of the evaporated milk for coconut milk and sprinkle toasted coconut flakes over the caramel before baking. The coconut adds a subtle nuttiness that pairs beautifully with pineapple, creating a beach‑vibe dessert perfect for summer gatherings.
Spiced Rum Revival
Add a tablespoon of dark rum to the reserved pineapple juice and a pinch of ground nutmeg to the batter. The rum deepens the caramel notes, while nutmeg introduces a warm spice that feels festive—ideal for holiday celebrations.
Berry‑Infused Delight
Replace the pineapple slices with a mix of fresh strawberries and blueberries. The berries release juices that mingle with the caramel, offering a slightly tart contrast and a burst of color that makes the cake visually stunning.
Chocolate‑Laced Upside‑Down
Stir 2 tablespoons of cocoa powder into the dry flour mixture and drizzle a thin chocolate ganache over the finished cake. The chocolate adds richness without overpowering the fruit, creating a sophisticated flavor pairing.
Caramel‑Apple Fusion
Use thinly sliced apples in place of pineapple and increase the brown sugar by ¼ cup for extra caramel depth. The apples soften during baking, offering a tender bite that complements the buttery cake base.
📦 Storage & Reheating Tips
Refrigerator Storage
Allow the cake to cool completely, then cover it loosely with plastic wrap or store it in an airtight container. It will stay fresh for up to 4 days in the fridge, though the caramel may harden slightly—simply let it sit at room temperature for 20 minutes before serving.
Freezing Instructions
Wrap the entire cake (still in its pan) in a double layer of aluminum foil, then place it in a freezer‑safe zip‑top bag. It freezes well for up to 2 months. To thaw, move it to the refrigerator overnight, then bring it to room temperature before inverting for serving.
Reheating Methods
Reheat individual slices in a preheated oven at 300°F (150°C) for 8‑10 minutes, or microwave a slice for 20‑30 seconds. For extra moisture, add a splash of the reserved pineapple juice to the plate before heating; the juice steams the cake gently, keeping it from drying out.