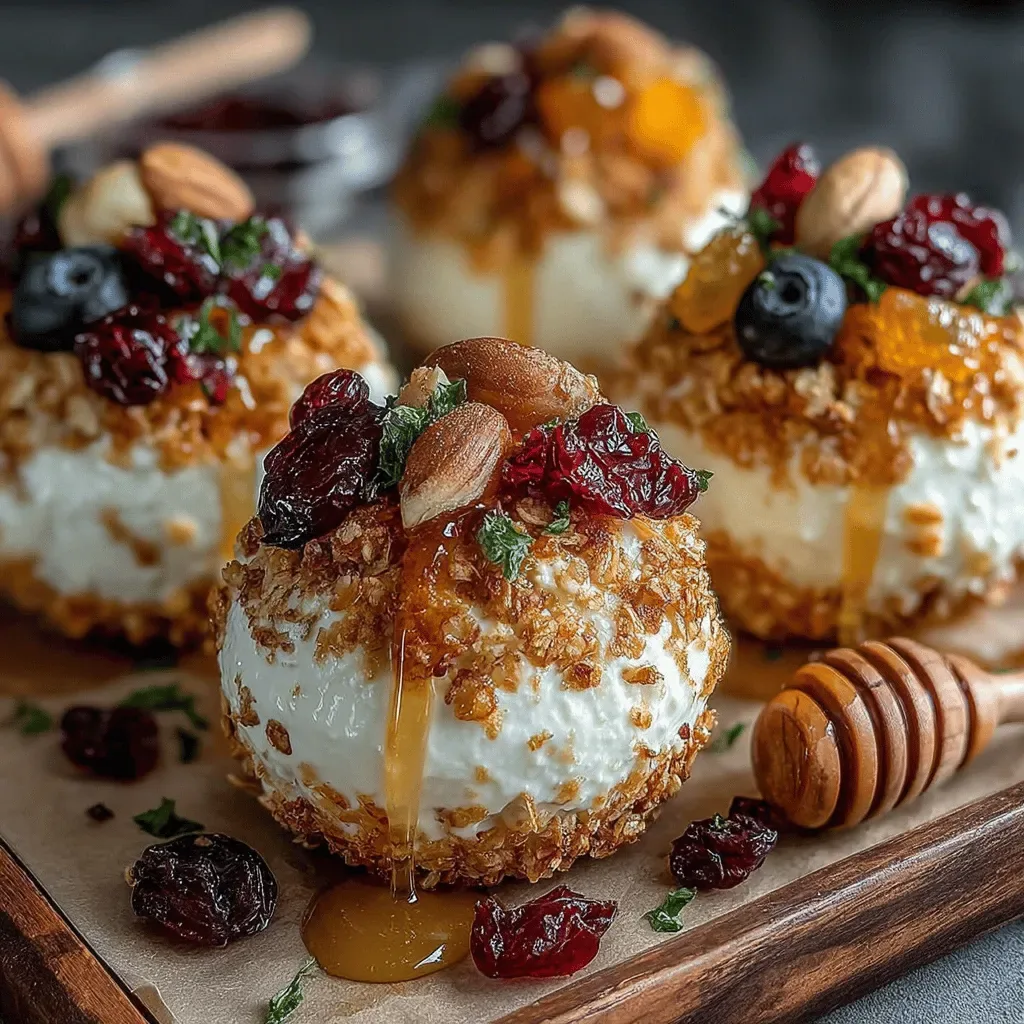
There’s a particular kind of magic that happens in a kitchen when the first hint of summer berries meets the comforting richness of cream cheese, all tucked beneath a buttery crumble that sings with every bite. I still remember the first time I pulled a tray of these bars from the oven on a lazy Saturday afternoon; the kitchen was filled with the sweet perfume of blueberries mingling with a faint, nutty aroma from the buttered crust, and my teenage daughter ran in, eyes wide, declaring it “the best thing she’d ever tasted.” The moment you lift the lid, a cloud of fragrant steam hits you, carrying whispers of vanilla, lemon zest, and that unmistakable tang of fresh cream cheese that makes your mouth water before you even see the golden top.
What makes these Blueberry Cream Cheese Crumble Bars truly unforgettable is the harmony of textures and flavors that dance together on the palate. Imagine a buttery, slightly crisp base that gives way to a silky, tangy cream cheese layer, and then bursts of juicy blueberry filling that are both sweet and bright. Each bite feels like a celebration of contrast—soft, creamy, and crunchy all at once—making it impossible to stop at just one piece. Have you ever wondered why restaurant desserts often feel more sophisticated? It’s because they’ve mastered this balance, and today I’m handing you the secret formula.
But wait—there’s a hidden trick that elevates these bars from delicious to unforgettable, and I’ll reveal it in a moment. It’s a tiny step that most home bakers overlook, yet it makes the crumble melt in your mouth like a buttery cloud. Trust me, once you try it, you’ll never go back to ordinary bar recipes again. The secret lies in how we handle the butter and the timing of the blueberry glaze, a detail that will become clear in the step‑by‑step section.
Now, you might be thinking, “Can I really pull this off without a professional kitchen?” Absolutely! This recipe is designed for home cooks of any skill level, with clear instructions, easy-to‑find ingredients, and a few pro tips that will keep you on track. The best part? The whole family will be asking for seconds, and you’ll feel like a culinary hero every time you serve them. Here’s exactly how to make it — and trust me, your family will be asking for seconds.
🌟 Why This Recipe Works
- Flavor Depth: The combination of sweet blueberries, tangy cream cheese, and a buttery crumble creates layers of flavor that unfold with each bite, keeping your taste buds engaged from start to finish.
- Texture Contrast: A crisp, golden crust gives way to a silky, smooth filling, while the blueberry burst adds a juicy pop, delivering a satisfying mouthfeel that’s both comforting and exciting.
- Ease of Preparation: Each component can be prepared in parallel, meaning you spend less time juggling pans and more time enjoying the process, perfect for busy weeknights or relaxed weekends.
- Time Efficiency: With a total time of under an hour, you can have a show‑stopping dessert ready for any gathering, from casual brunches to elegant dinner parties.
- Versatility: These bars can be served warm, at room temperature, or chilled, making them adaptable to any season or occasion, and they pair beautifully with a scoop of vanilla ice cream or a dollop of whipped cream.
- Ingredient Quality: Using fresh blueberries and high‑quality cream cheese ensures natural sweetness and a bright, clean flavor without relying on artificial additives.
- Crowd‑Pleasing Factor: The familiar flavors of blueberry and cream cheese are universally loved, while the crumble adds a gourmet touch that impresses even the most discerning guests.
🥗 Ingredients Breakdown
The Foundation: Crust & Crumble
All‑purpose flour: This is the backbone of our crumble and crust, providing structure. It creates a tender yet sturdy base that holds the filling without becoming soggy. If you’re looking for a gluten‑free option, a 1:1 blend of rice flour and tapioca starch works surprisingly well, though the texture will be slightly different.
Granulated sugar: Sweetens the bars and enhances the flavors of the blueberries. It also helps the crumble achieve a caramelized, golden hue during baking. You can substitute half of it with coconut sugar for a deeper, caramel‑like flavor.
Baking powder: Helps the crust rise, giving it a light and airy texture. Without it, the crust could turn dense and heavy, losing that delightful bite‑size crunch.
Salt: Just a pinch to balance the sweetness and enhance the overall flavor. Sea salt crystals sprinkled on top before baking add a subtle pop that contrasts beautifully with the sweet filling.
Unsalted butter: Cold and cubed, it creates that rich, buttery crumble we all love. The key is to keep the butter chilled until it meets the flour, ensuring flaky layers form as it bakes. If you’re dairy‑free, a solid coconut oil can replace butter, but expect a hint of coconut flavor.
Aromatics & Spices: Cream Cheese Layer
Egg: Acts as a binder, helping to hold everything together. It also adds a subtle richness to the cream cheese layer, making it smooth and velvety. For a vegan twist, use a flax egg (1 tablespoon ground flaxseed mixed with 3 tablespoons water).
Cream cheese: The star of the show! It adds creaminess and a delightful tang that cuts through the sweetness of the blueberries. Choose full‑fat cream cheese for the most luxurious texture; low‑fat versions can become grainy.
Vanilla extract: A splash of this adds warmth and depth to the cream cheese layer. It’s the secret behind that comforting, bakery‑like flavor that lingers on the palate.
The Secret Weapons: Blueberry Filling
Blueberries: Fresh or frozen, they bring a burst of juicy flavor to each bite. Fresh berries give a brighter taste, while frozen ones are often sweeter and more readily available year‑round. Rinse them gently and pat dry to avoid excess moisture.
Cornstarch: Helps thicken the blueberry filling, ensuring it doesn’t get too runny. This prevents the crumble from becoming soggy and keeps each bite perfectly balanced.
Lemon juice: Brightens the flavor of the blueberries, making them pop! The acidity also helps set the cornstarch, giving the filling a glossy finish.
Finishing Touches: Sweet Icing
Powdered sugar: For the sweet icing drizzle that adds a lovely finishing touch. It dissolves quickly, creating a smooth glaze that glistens under the light.
Milk: Adjusts the icing consistency, making it just right for drizzling. Use whole milk for a richer glaze, or a splash of almond milk for a lighter version.
With your ingredients prepped and ready, let's get cooking. Here's where the fun really begins...

🍳 Step-by-Step Instructions
Preheat your oven to 350°F (175°C) and line a 9‑inch square baking pan with parchment paper, allowing the paper to overhang on the sides for easy removal. While the oven warms, whisk together the all‑purpose flour, granulated sugar, baking powder, and a pinch of salt in a large bowl. This dry blend ensures even distribution of leavening and seasoning, which is crucial for a uniform crumb.
Cut the cold unsalted butter into small cubes and add them to the flour mixture. Using a pastry cutter or two forks, work the butter into the dry ingredients until the mixture resembles coarse crumbs with some pea‑size pieces of butter still visible. This is the moment where the crumble starts to develop its buttery character.
💡 Pro Tip: If you want a deeper flavor, let the butter‑flour mixture sit in the fridge for 10 minutes before adding the wet ingredients. The chill helps maintain distinct layers in the final bake.Press about two‑thirds of the crumb mixture firmly into the prepared pan, creating an even layer. Use the back of a measuring cup to smooth it out, ensuring the base is compact. This solid foundation will prevent the filling from sinking and keep the bars sturdy when sliced.
In a separate bowl, beat the cream cheese until smooth, then add the egg, vanilla extract, and a tablespoon of granulated sugar. Mix until fully incorporated; the mixture should be glossy and without lumps. Pour this creamy layer over the pressed crust, spreading it gently with a spatula.
For the blueberry filling, combine fresh or thawed blueberries with a tablespoon of cornstarch, a drizzle of lemon juice, and a couple of teaspoons of sugar in a saucepan. Cook over medium heat, stirring occasionally, until the berries release their juices and the mixture thickens—about 5‑7 minutes. You’ll know it’s ready when the edges start to bubble and the sauce looks glossy.
💡 Pro Tip: Add a pinch of salt to the blueberry sauce; it amplifies the fruit’s natural sweetness and balances the tang of the cream cheese.Spread the thickened blueberry sauce evenly over the cream cheese layer, using a spoon to create a marbled effect if you like visual appeal. The contrast of the deep blue sauce against the pale cream cheese is as pleasing to the eye as it is to the palate.
Take the remaining crumb mixture and crumble it over the top of the blueberry layer, creating a rustic, uneven surface. This final crumble will turn golden and crisp as it bakes, adding the perfect crunch.
⚠️ Common Mistake: Avoid pressing the top crumble too firmly; you want it loose enough to puff up and become airy, not dense.Place the pan in the preheated oven and bake for 30‑35 minutes, or until the top is a deep golden brown and a toothpick inserted into the crust (away from the filling) comes out clean. You’ll hear a faint sizzle as the butter caramelizes, filling the kitchen with an irresistible aroma.
While the bars are cooling, whisk together powdered sugar and just enough milk to form a smooth, pourable glaze. Drizzle this over the cooled bars, allowing it to cascade into the crevices for a glossy finish. Let the bars rest for at least 15 minutes before cutting so the layers set properly.
And there you have it! But before you dig in, let me share some tips that will take this from great to absolutely unforgettable...
🔐 Expert Tips for Perfect Results
The Taste Test Trick
Before you bake, give the blueberry mixture a quick taste. If it feels too tart, add a pinch more sugar; if it’s overly sweet, a splash more lemon juice will restore balance. This small adjustment ensures the final bar hits the perfect sweet‑tangy spot every time.
Why Resting Time Matters More Than You Think
Allow the bars to rest for at least 15 minutes after glazing. This rest period lets the crumb absorb moisture from the filling, creating a cohesive bite rather than a soggy bottom. I once sliced them immediately and the crust fell apart—lesson learned!
The Seasoning Secret Pros Won’t Tell You
A pinch of flaky sea salt sprinkled on the top just before serving elevates the flavors dramatically. The salt cuts through the sweetness and highlights the buttery notes, a technique chefs use on desserts like caramel flan and chocolate ganache.
How to Keep the Crumble Light
When mixing the butter into the flour, avoid over‑working the dough. A few larger butter pieces create steam pockets during baking, which puff up the crumble. Think of it like making a biscuit—less mixing equals a lighter texture.
Storing for Maximum Freshness
Once cooled, store the bars in an airtight container lined with parchment paper. This prevents the crumble from absorbing moisture and turning soggy. I keep a small slice on the counter for a quick snack, and the rest stays fresh for up to four days.
🌈 Delicious Variations to Try
One of my favorite things about this recipe is how versatile it is. Here are some twists I’ve tried and loved:
Lemon‑Blueberry Zest Bars
Swap half of the lemon juice for fresh orange zest and add a tablespoon of orange zest to the crumble. The citrus notes brighten the blueberry filling, creating a summer‑in‑a‑bite experience.
Chocolate‑Swirl Delight
Fold in a quarter cup of melted dark chocolate into the crumble mixture before topping the bars. The chocolate adds a rich, slightly bitter counterpoint that pairs beautifully with the sweet berries.
Nutty Crunch Variation
Mix chopped toasted pecans or walnuts into the top crumble for added texture and a nutty flavor. The nuts also bring a subtle earthiness that balances the bright blueberries.
Coconut‑Infused Dream
Replace half of the butter with coconut oil and add shredded coconut to the crumble. The coconut adds a tropical flair and a pleasant chewiness that makes the bars feel exotic.
Spiced Autumn Twist
Incorporate a pinch of cinnamon and nutmeg into the blueberry sauce for a warm, spiced version that’s perfect for cooler evenings. The spices enhance the fruit’s natural sweetness and add depth.
Protein‑Packed Power Bars
Add a scoop of vanilla whey protein powder to the crust mixture and top with a drizzle of almond butter after glazing. This version is great for post‑workout snacks, delivering both flavor and nutrition.
📦 Storage & Reheating Tips
Refrigerator Storage
Place the cooled bars in an airtight container lined with parchment paper. They’ll stay fresh for up to four days, with the crumble remaining pleasantly crisp. If you notice any condensation, simply pat the top with a paper towel before sealing.
Freezing Instructions
Wrap each bar individually in plastic wrap, then place them in a freezer‑safe zip‑top bag. They freeze well for up to two months. To thaw, move them to the fridge overnight, then let them sit at room temperature for 15 minutes before serving.
Reheating Methods
For a warm, gooey experience, reheat a single bar in a 300°F oven for 5‑7 minutes, or microwave for 20 seconds. The trick to reheating without drying it out? A splash of milk or a light brush of melted butter on the crumble before warming.